Adding a Blog to Starlight
This document introduces the steps to add a blog to a site set up with Starlight. The blog we are adopting this time uses a plugin provided by the community.
Installing the Plugin
The installation steps are introduced on the following site.
-
First, install the plugin for the Starlight documentation site.
Install Plugin npm i starlight-blog -
Add the installed plugin to
astro.config.mjs.astro.config.mjs import starlight from '@astrojs/starlight'import { defineConfig } from 'astro/config'import starlightBlog from 'starlight-blog'export default defineConfig({integrations: [starlight({plugins: [starlightBlog()],title: 'My Docs',}),],}) -
Next, add the blog schema to
src/content/config.ts.src/content/config.ts import { defineCollection } from 'astro:content';import { docsSchema } from '@astrojs/starlight/schema';import { blogSchema } from 'starlight-blog/schema'export const collections = {docs: defineCollection({schema: docsSchema({extend: (context) => blogSchema(context)})}),}; -
Finally, create the file
src/content/docs/blog/my-first-blog-post.md.src/content/docs/blog/my-first-blog-post.md ---title: My first blog postdate: 2023-07-24---## HelloHello world!
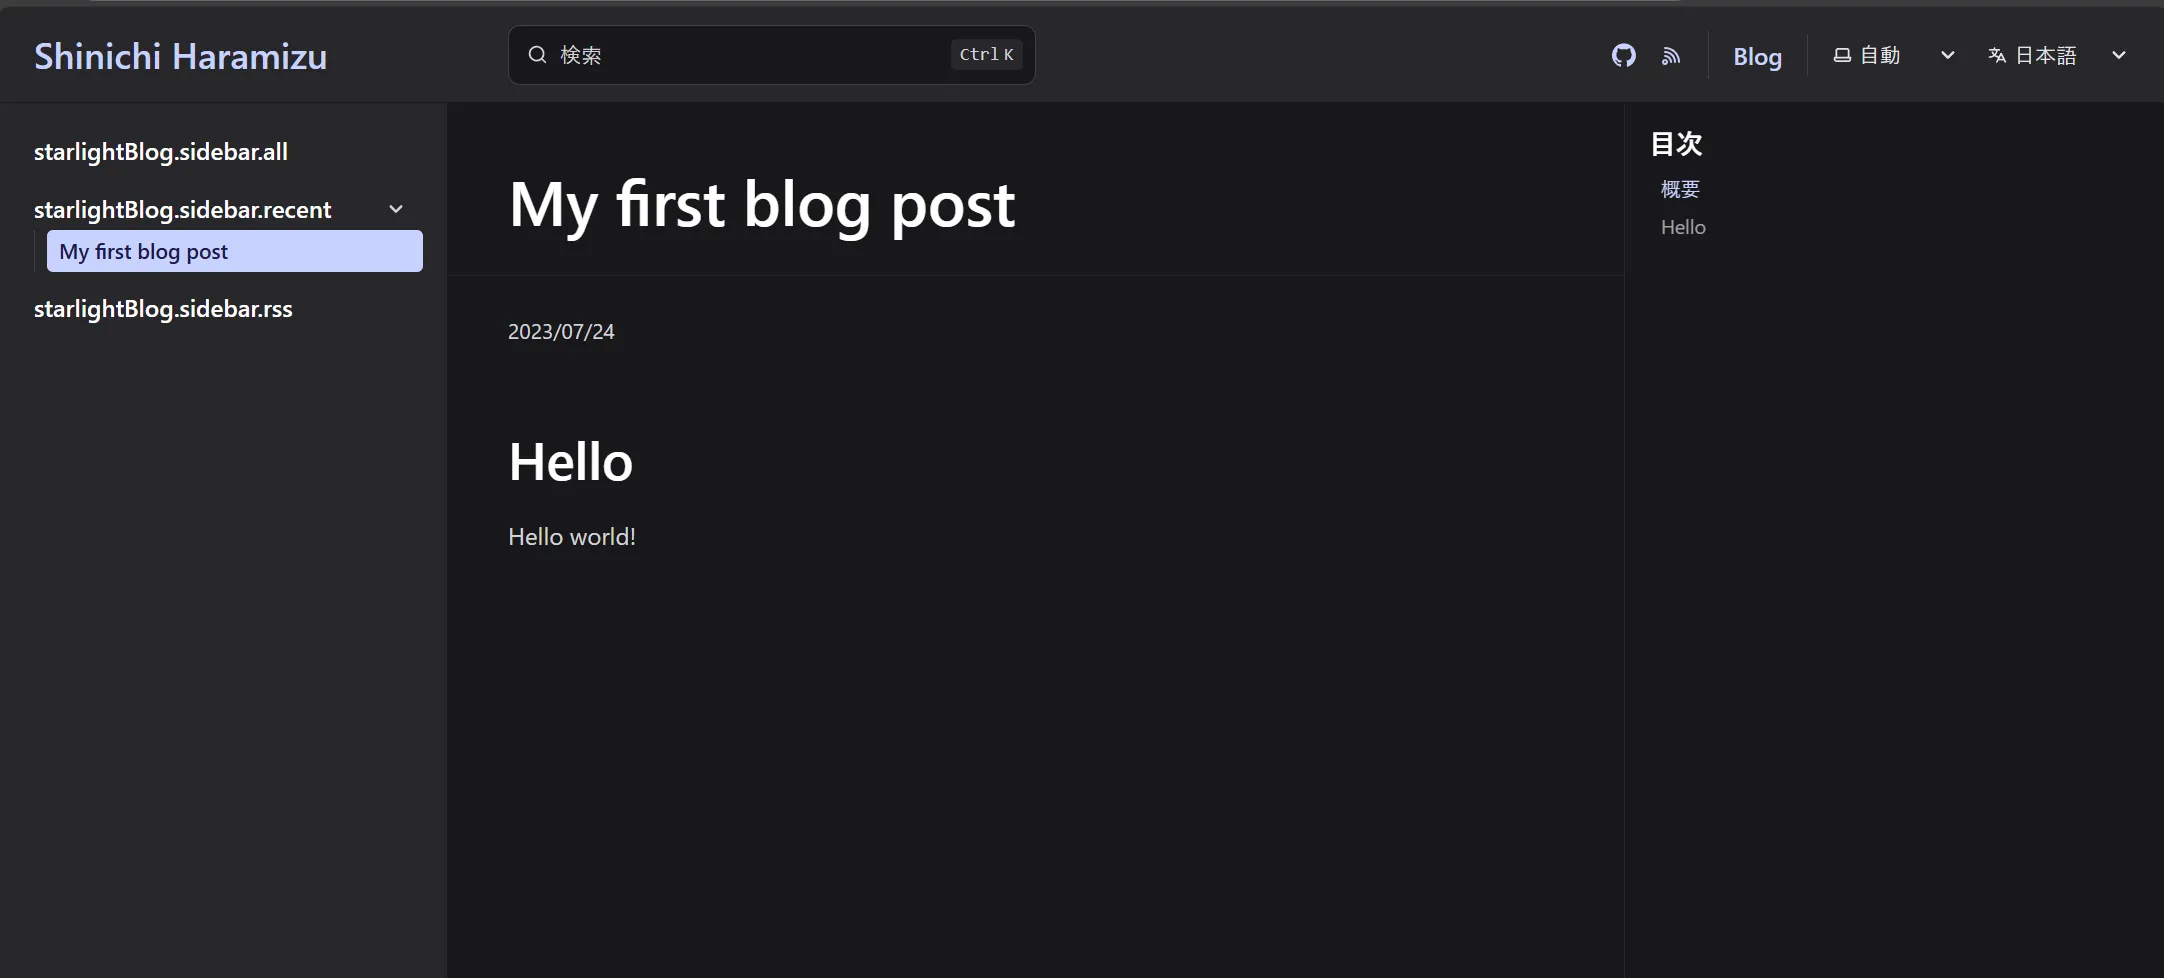
This completes the plugin installation. When you access the site, a Blog menu will be added at the top, allowing you to view blog posts.

Adding Japanese Resources
Looking at the screen above, you can see that there are insufficient Japanese resources in the left menu. The method to address this is posted on the following page.
The procedure is to use the i18n managed by Starlight.
The steps to enable this feature are as follows.
-
Add
i18nSchemato the configuration filesrc/content/config.ts.src/content/config.ts import { defineCollection } from 'astro:content';import { docsSchema, i18nSchema } from '@astrojs/starlight/schema';export const collections = {docs: defineCollection({ schema: docsSchema() }),i18n: defineCollection({ type: 'data', schema: i18nSchema() }),}; -
Create the directory
src/content/i18nand create the fileja.json.{"starlightBlog.authors.count_one": "{{count}} 投稿 by {{author}}","starlightBlog.authors.count_other": "{{count}} 投稿 by {{author}}","starlightBlog.pagination.prev": "新しい投稿","starlightBlog.pagination.next": "古い投稿","starlightBlog.post.lastUpdate": " - 最終更新日: {{date}}","starlightBlog.post.draft": "下書き","starlightBlog.post.featured": "注目","starlightBlog.post.tags": "タグ:","starlightBlog.rss.imageFallback": "オリジナルの画像はブログに掲載","starlightBlog.sidebar.all": "全ての投稿","starlightBlog.sidebar.featured": "注目の投稿","starlightBlog.sidebar.recent": "最近の投稿","starlightBlog.sidebar.tags": "タグ","starlightBlog.sidebar.authors": "編集者","starlightBlog.sidebar.rss": "RSS","starlightBlog.tags.count_one": "“{{tag}}” の投稿: {{count}} 件","starlightBlog.tags.count_other": "{{tag}}” の投稿: {{count}} 件"}
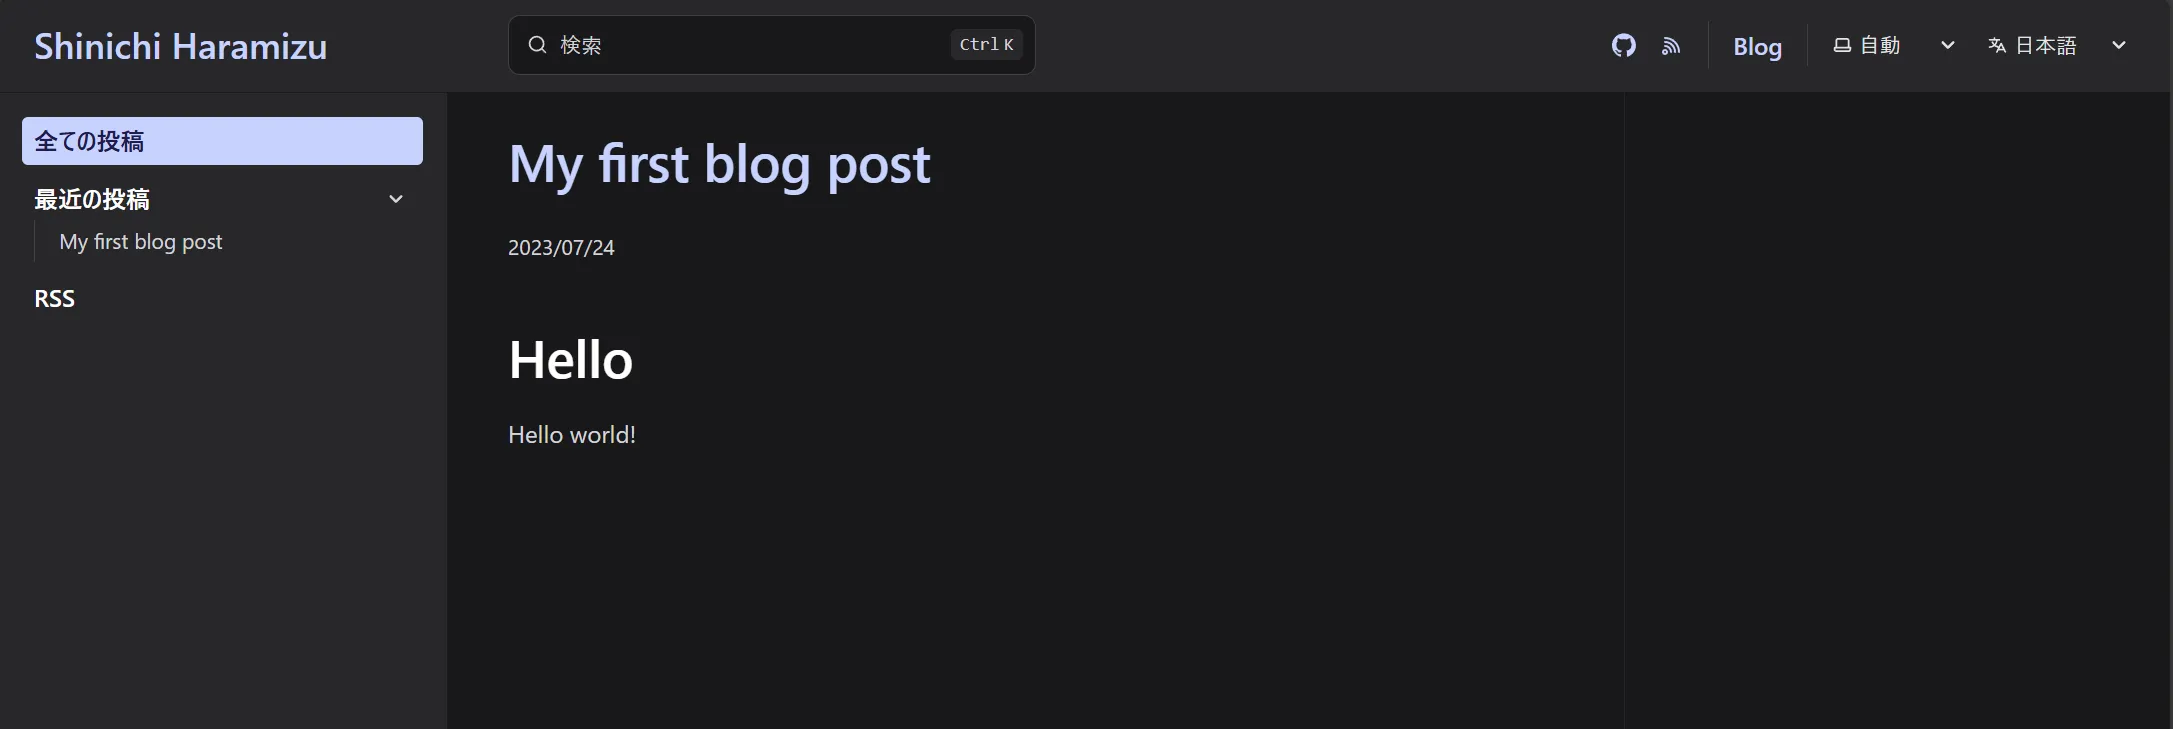
Successfully added Japanese resources.

Summary
By using the standard plugin, you can now write a blog within Starlight. The position of the blog on this site will be used to provide information about site updates rather than offering tips.