Using Starlight
I created a blog using Next.js, but I wanted to create a documentation site that can be easily written in Markdown, published on GitHub, and receive feedback. Therefore, I considered several frameworks. In particular, I thought a framework that supports SSG and is easy to customize would be good, and I considered the following candidates:
- Gatsby: Gatsby is a React-based static site generator that is a framework for building fast and scalable websites and applications. Gatsby uses GraphQL to fetch data and generates static HTML files at build time. This improves page load speed and provides excellent performance for SEO.
- Docusaurus: Docusaurus is an open-source static site generator developed by Facebook, mainly designed to easily create project documentation sites. It is built on React and allows you to create modern and interactive documentation sites.
- Astro: Astro is a static site generator that leverages the latest web technologies to build fast and optimized static sites. Astro adopts a component-based architecture and is compatible with frameworks like React, Vue, Svelte, and Solid. Japanese information is also well provided.
After reconsidering various options, I decided to create this documentation site using Astro, which I had been interested in for a while, in addition to the Next.js blog.
While referring to the Astro site, I thought it would be good to output in this document format, and I found that the following documentation site is provided:
As a result, I decided to create this site using Starlight.
Setting up a Starlight site
To set up the site, configure the project you want to create and the current environment as follows:
- Astro 4.16.10
- Starlight 0.29.0
- Tailwind CSS 3.4.4
- Node.js 20.15.0
- Visual Studio Code
- macOS or Windows 11
This time, I will set it up using Tailwind CSS, which I am familiar with.
Creating the project
Let’s proceed with creating the project. Refer to the following page to start the creation.
-
Create the project with the following command:
Creating the project npm create astro@latest -- --template starlight/tailwind -
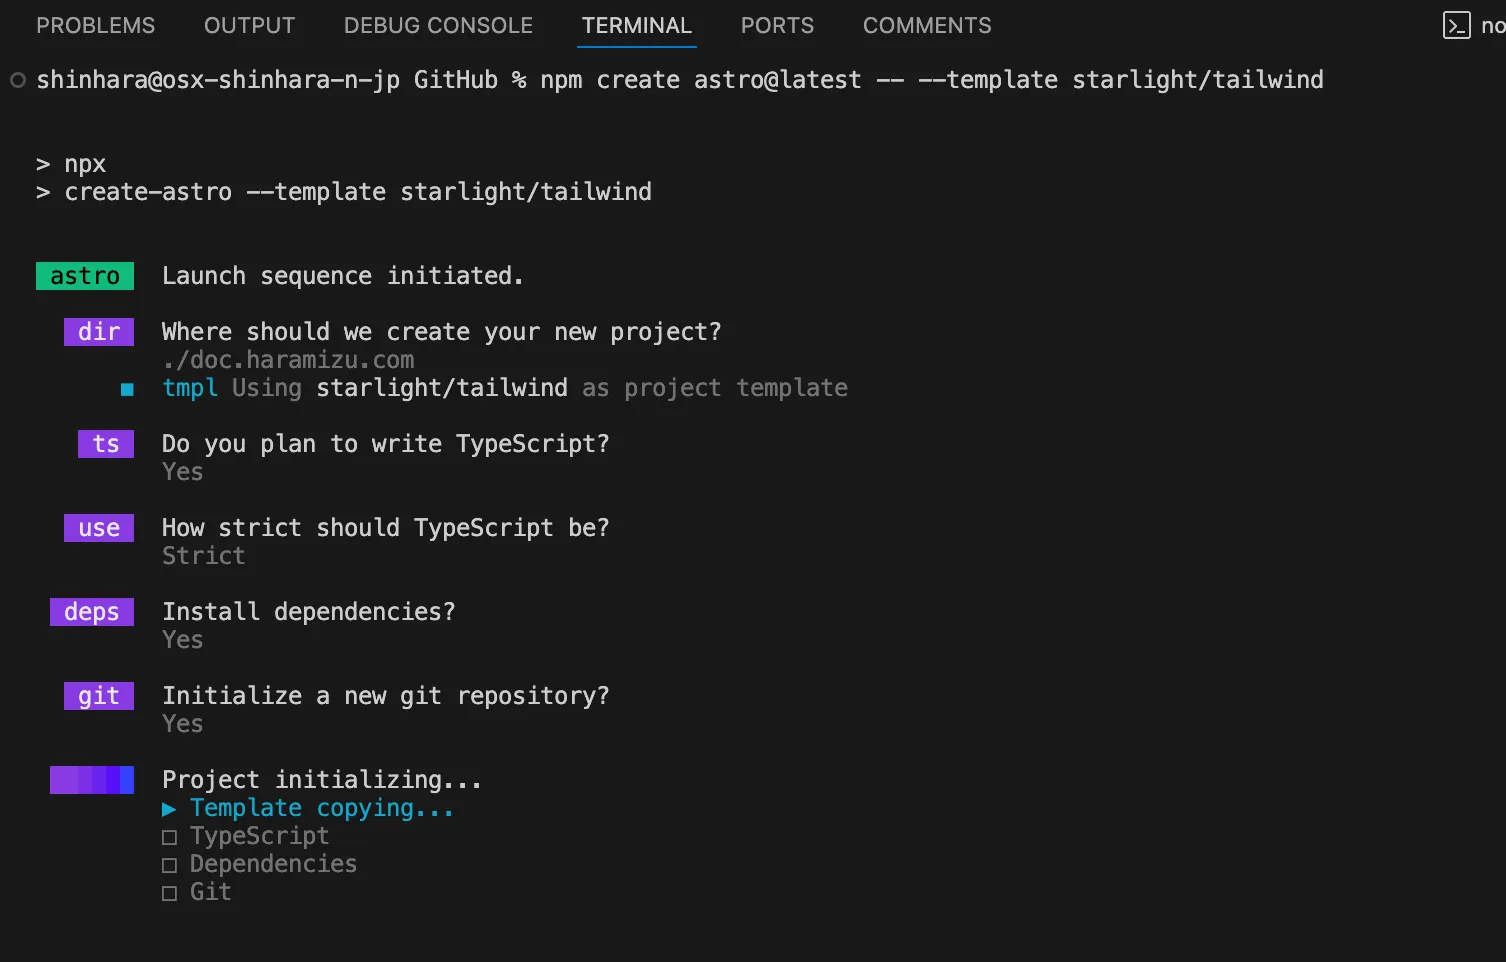
A wizard will start and ask for the project settings. Set them as follows:
- dir: ./doc.haramizu.com
- ts: Yes (Typescript)
- use: Strict
- Install dependencies?: Yes
- Initialize a new git repository?: Yes
-
After the above settings, the project initialization will proceed automatically.
-
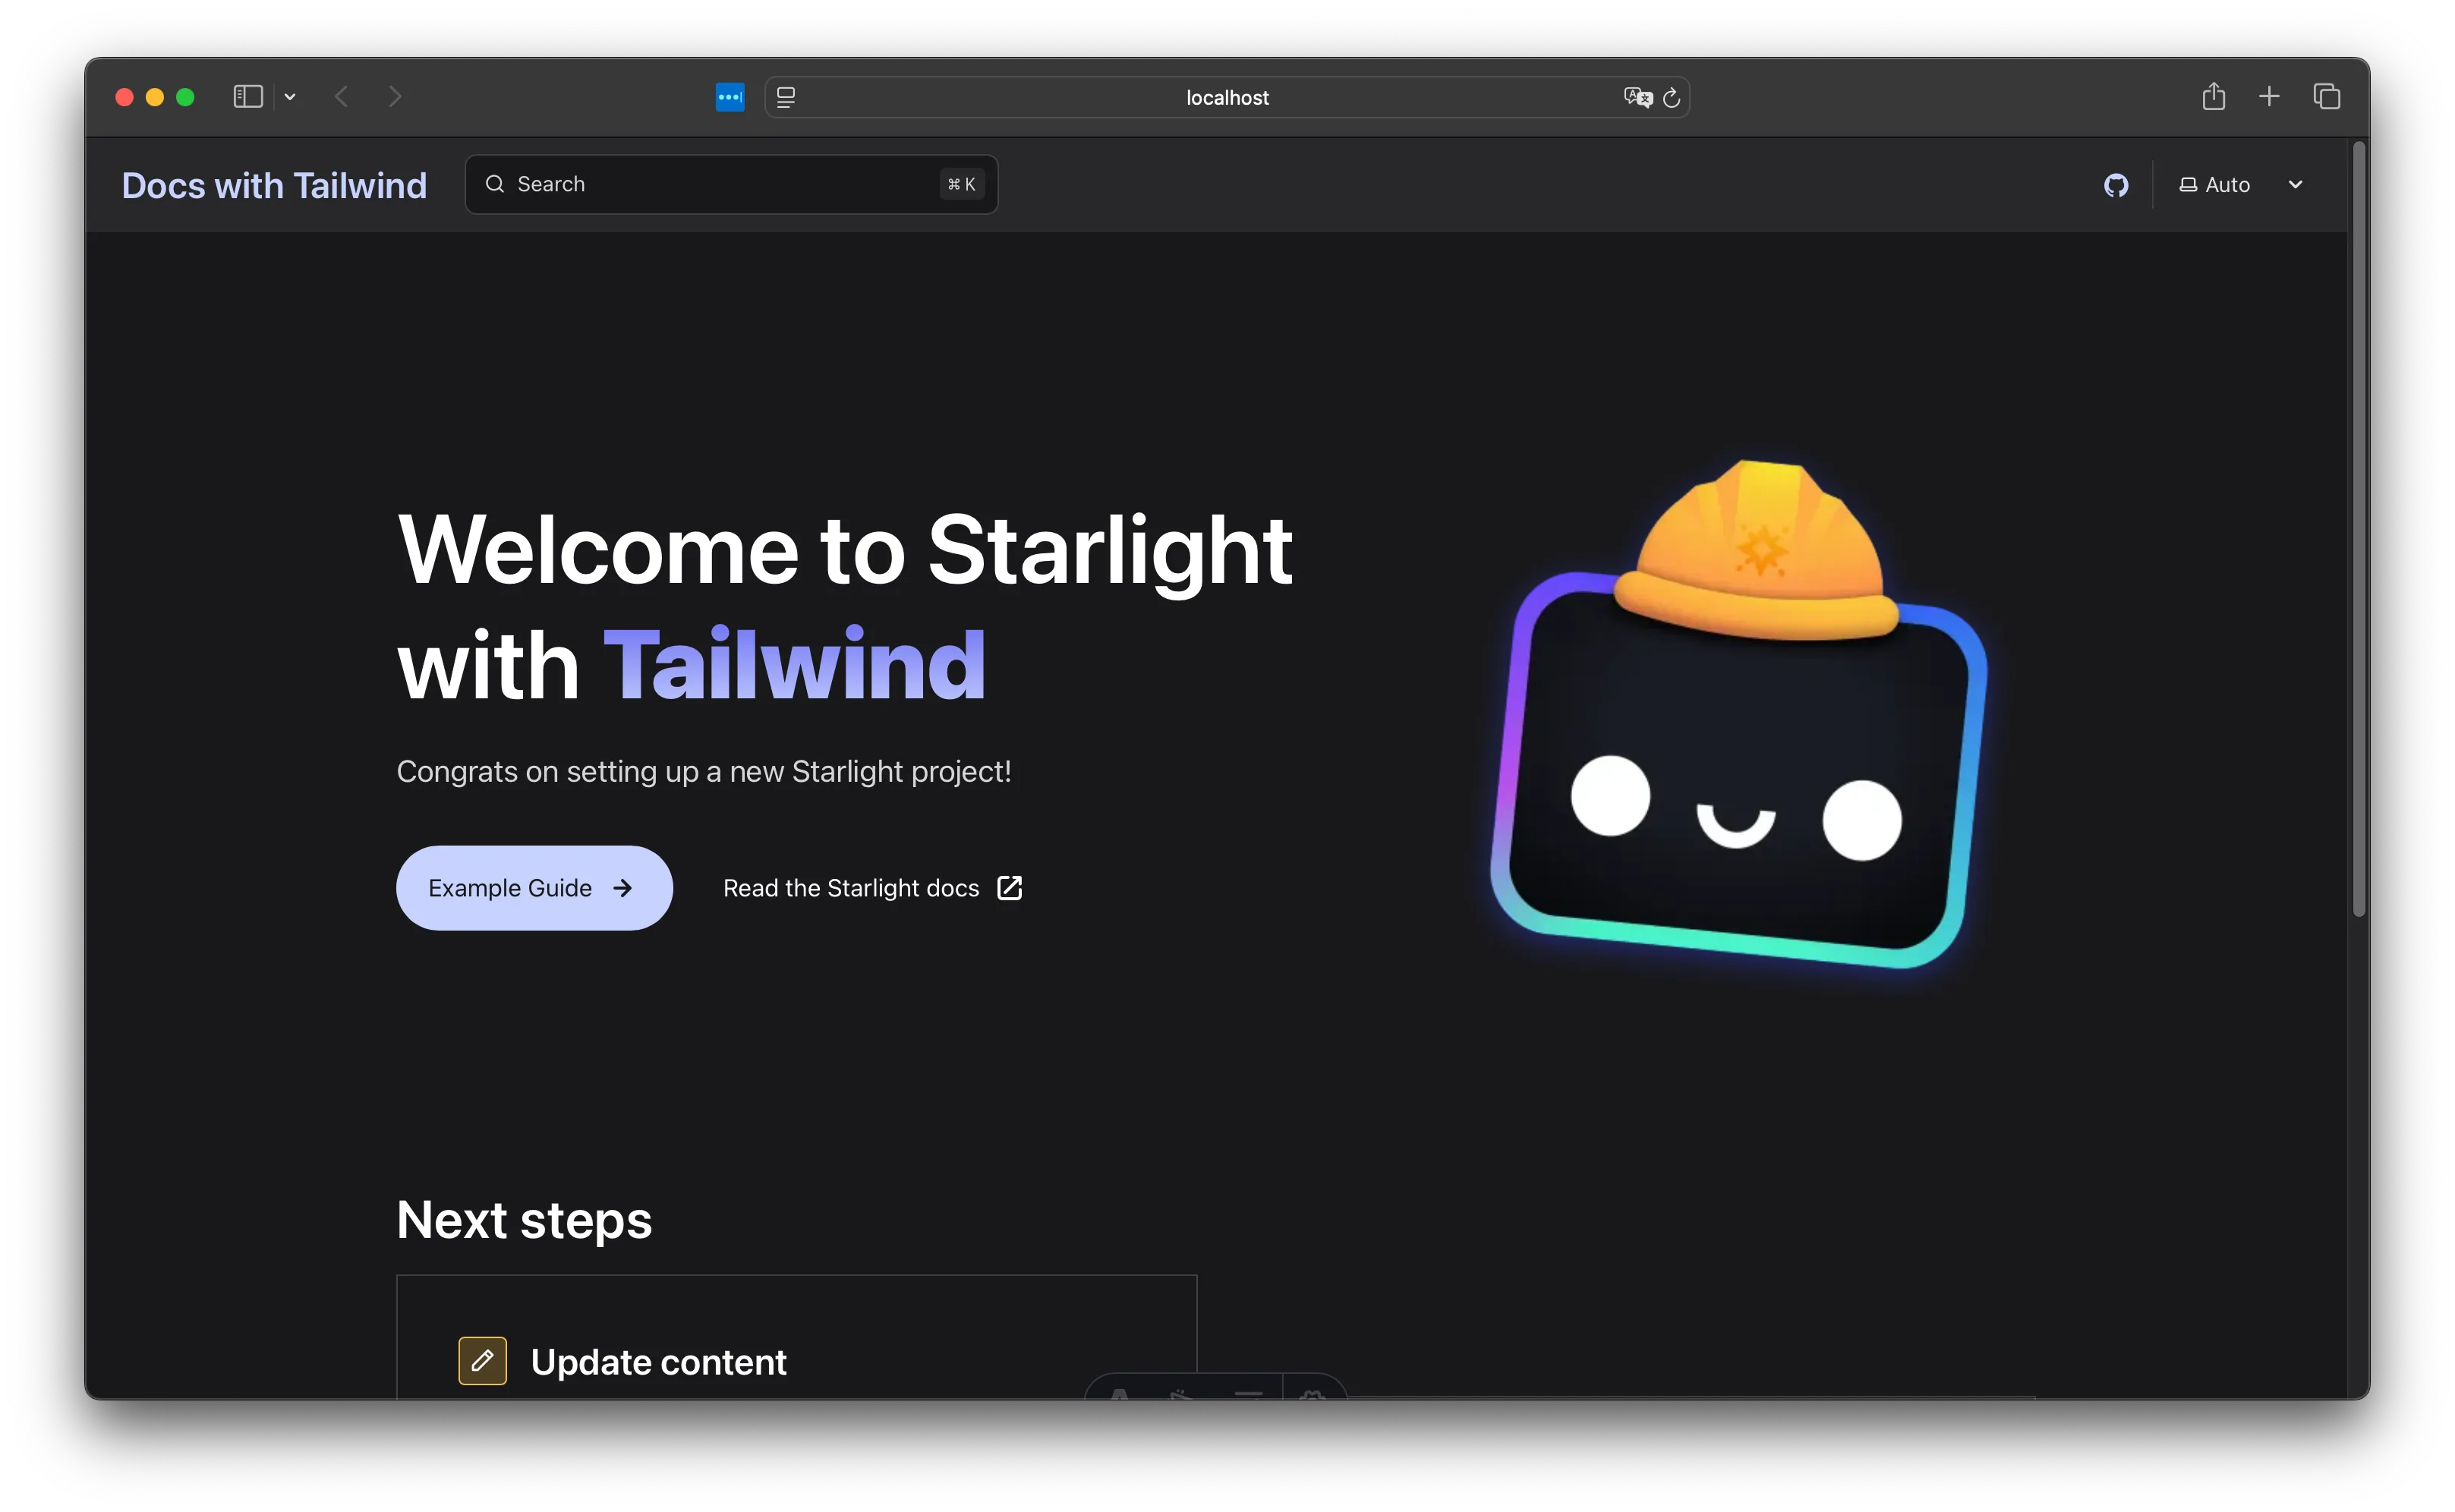
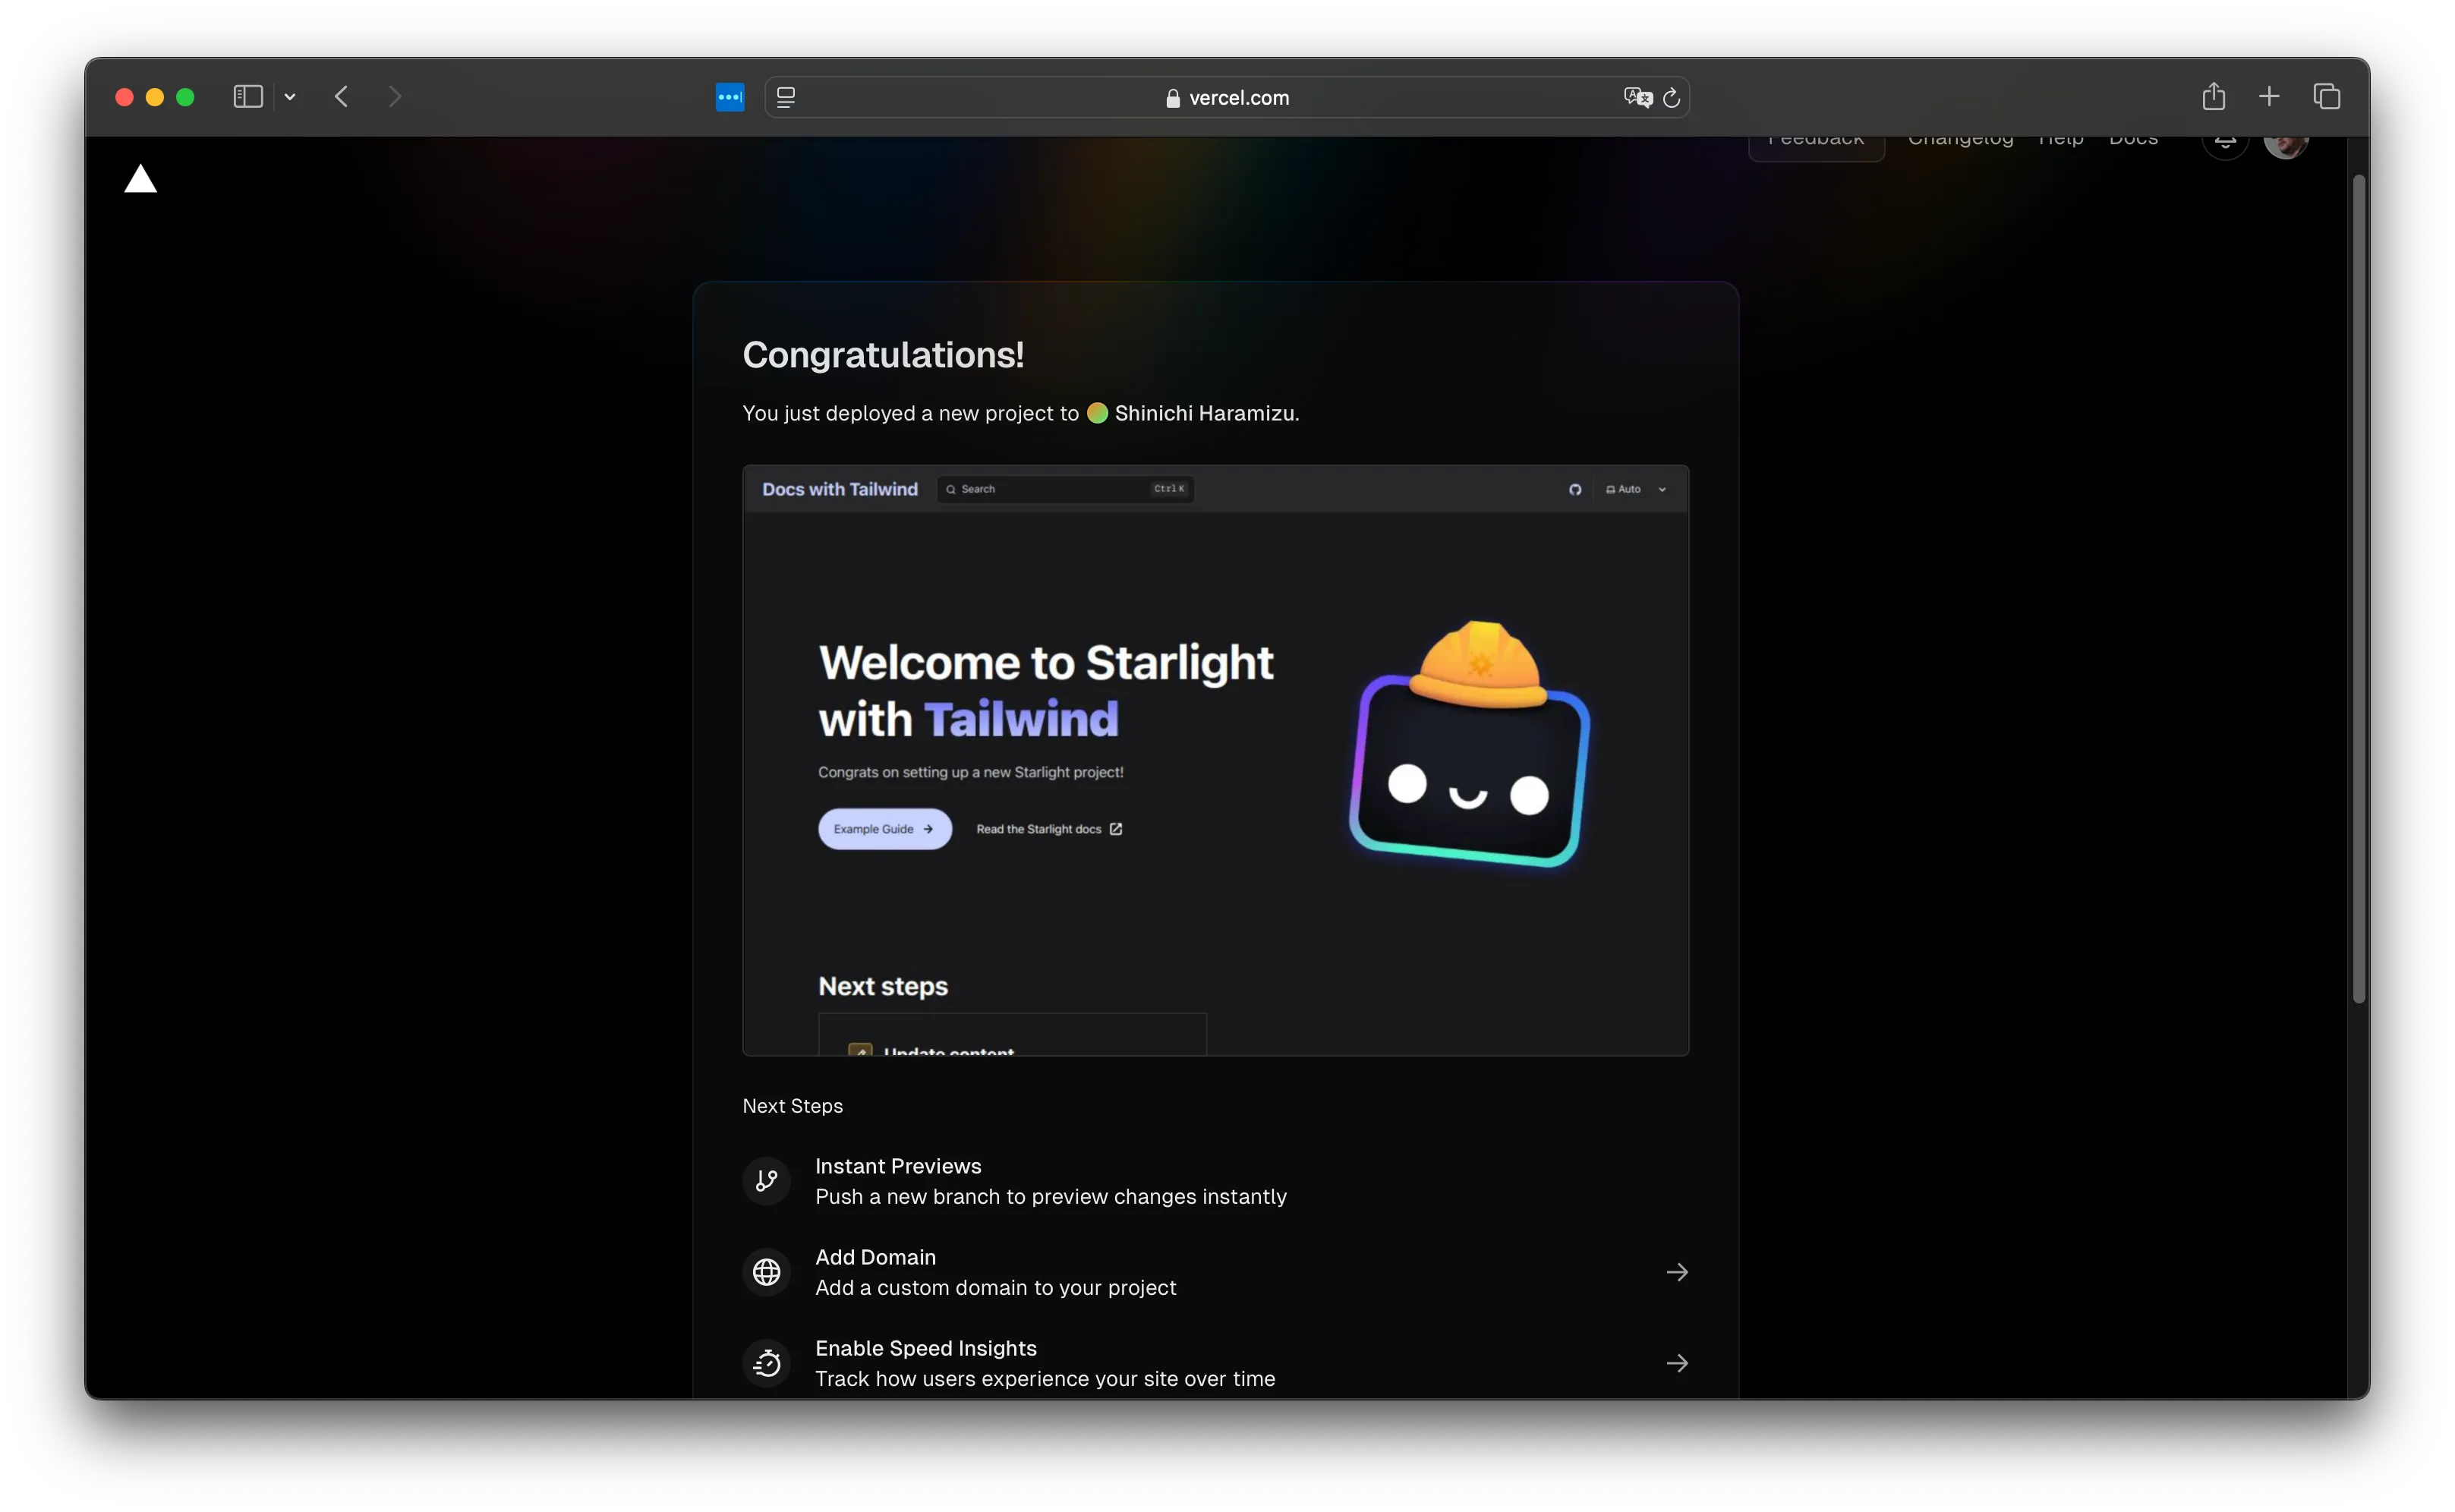
Once the setup is complete, the following message will be displayed.
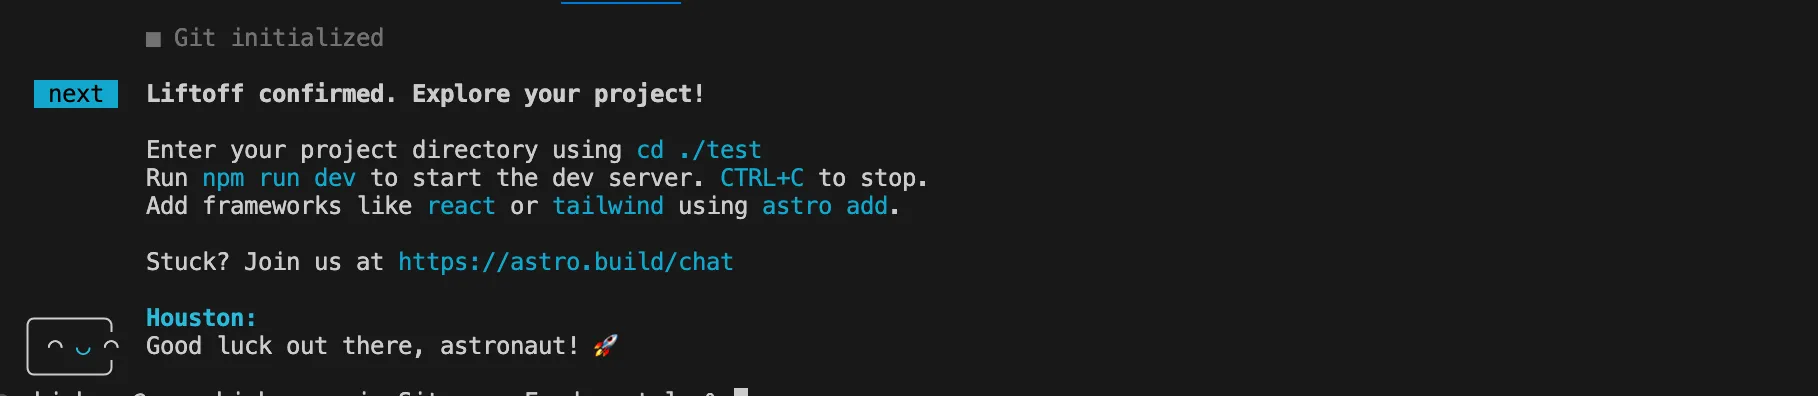
The project is complete. As shown on the screen, move to the path and start it, and you will see that it is set up with sample content.
Deploying to Vercel
Deploy the created project to GitHub and follow the steps to publish the site to Vercel. Assume that the project’s code is already uploaded to GitHub.
-
Log in to Vercel
-
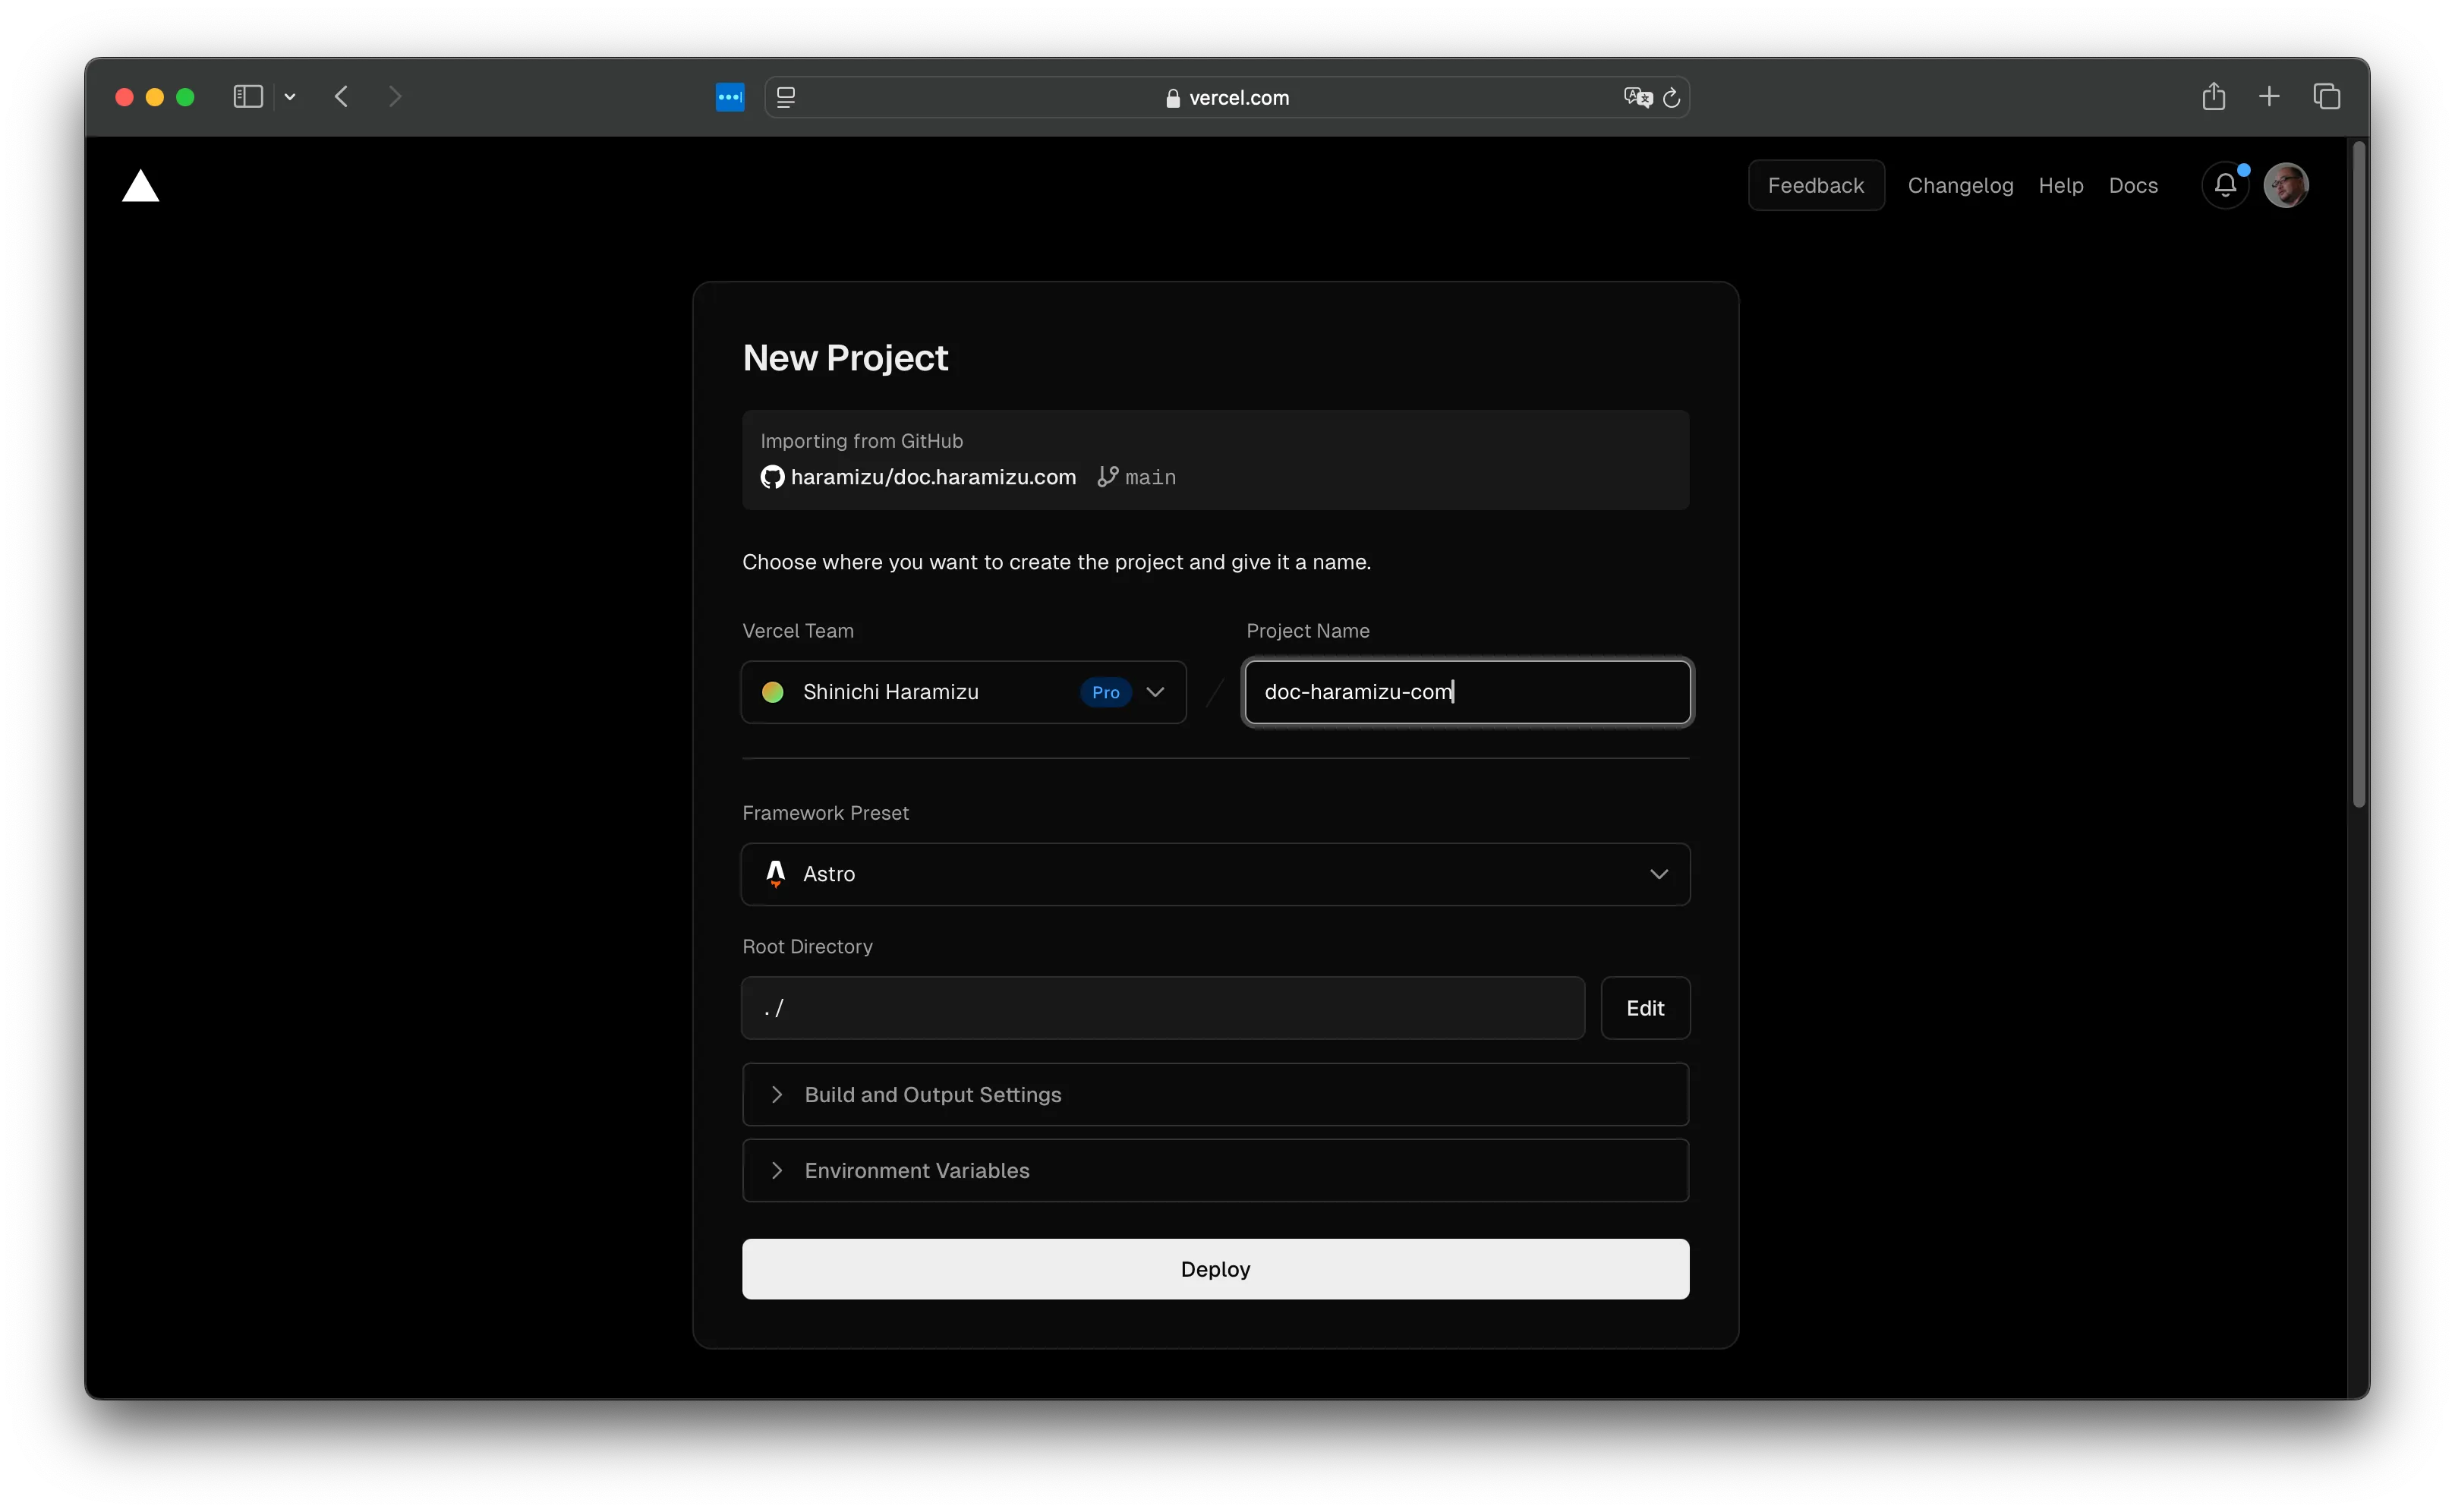
Click New project, create a new project, and specify the GitHub repository where the code is uploaded.
-
It is already specified as an Astro project. Click the Deploy button to execute the site’s Build. After a while, the site will be up.
From now on, updating the main repository will update this site.
Linking the environment with Vercel CLI
Use the Vercel CLI to link this project with the Vercel environment. If you haven’t installed the Vercel CLI, run the following command (add sudo if necessary).
npm i -g vercelIf the CLI is available, log in with the following command at the project’s top.
-
First, a confirmation screen will appear asking which account to log in with.
Logging in with Vercel CLI doc.haramizu.com % vercel loginVercel CLI 37.14.0? Log in to Vercel (Use arrow keys)❯ Continue with GitHubContinue with GitLabContinue with BitbucketContinue with EmailContinue with SAML Single Sign-On─────────────────────────────────CancelSince we are using GitHub, the browser will launch, and logging in will complete the Vercel CLI login.
-
Link with the Vercel project.
Linking with Vercel project doc.haramizu.com % vercel linkVercel CLI 37.14.0? Set up “~/GitHub/doc.haramizu.com”? yes? Which scope should contain your project? Shinichi Haramizu? Found project “haramizu/doc-haramizu-com”. Link to it? yesLinked to haramizu/doc-haramizu-com (created .vercel and added it to .gitignore)
The .vercel is added to the .gitignore file, and you can now use vercel env pull to retrieve development environment variables.
Multilingual site
For providing information on this site, we plan to expand in Japanese and English (using machine translation). Since Starlight includes multilingual functionality, we will proceed with language settings.
This setting is added to the astro.config.mjs file. This time, the root will be Japanese, and English will be displayed at /en.
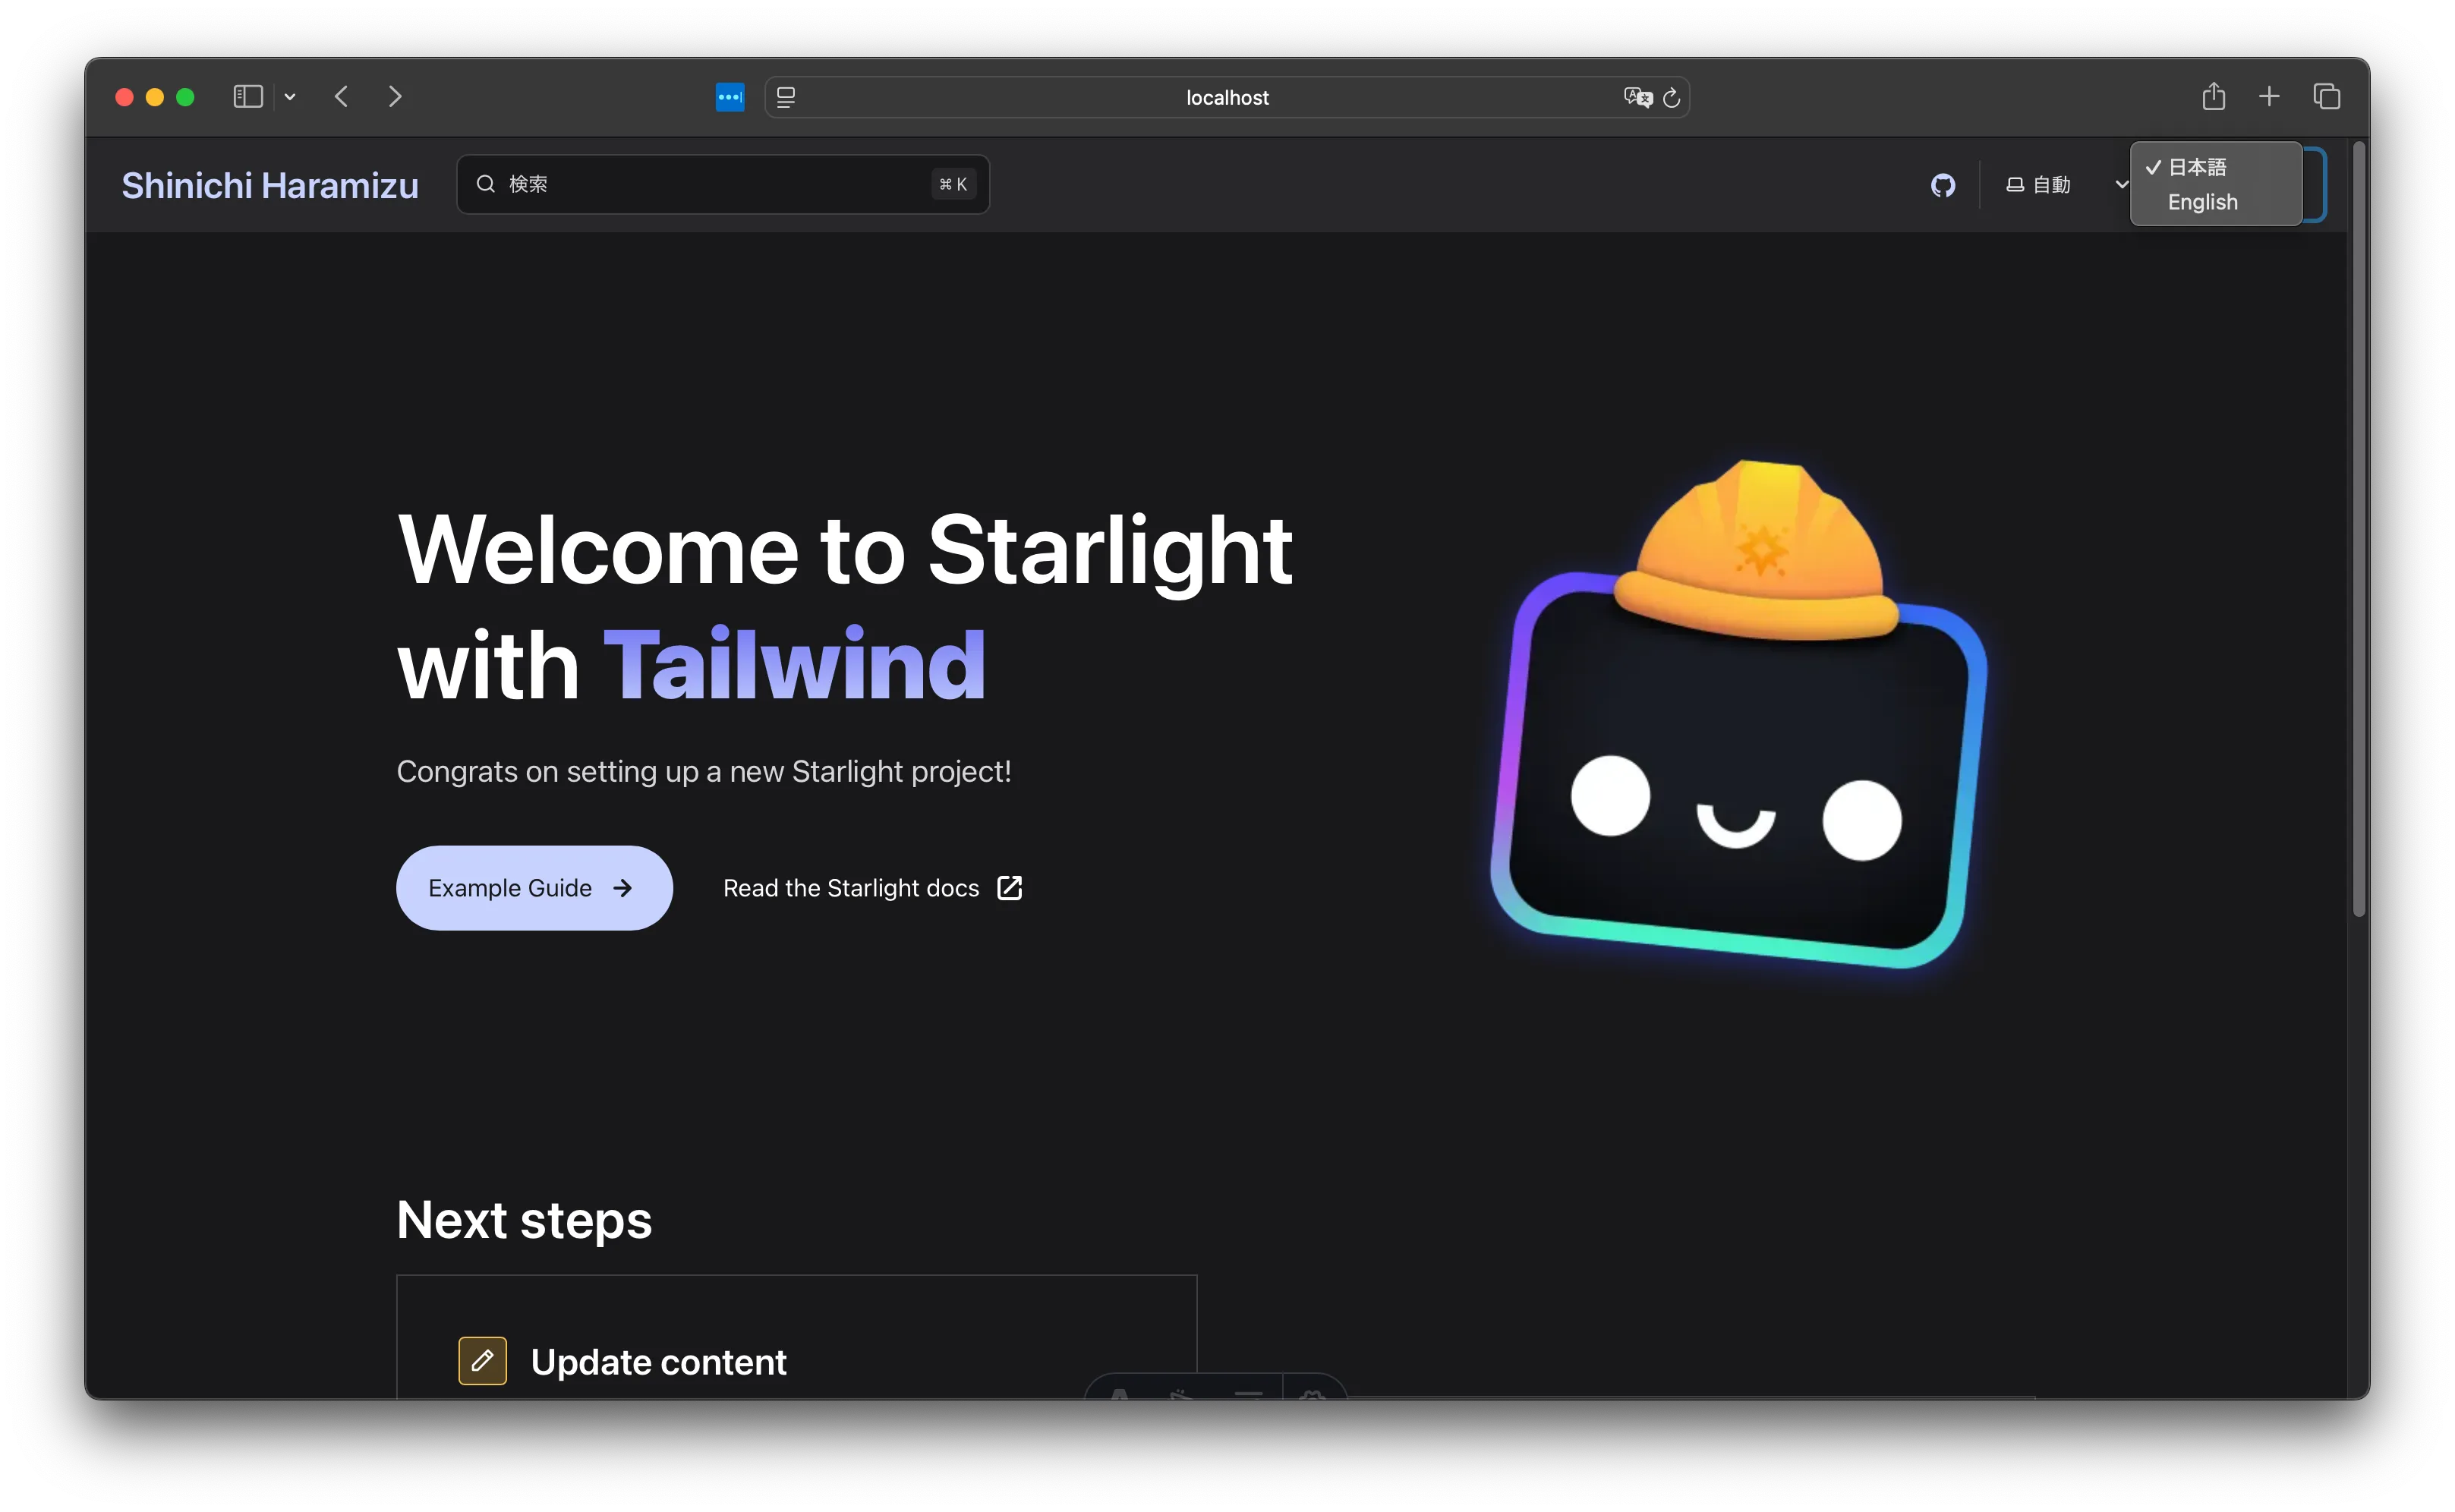
export default defineConfig({ integrations: [ starlight({ title: "Shinichi Haramizu", defaultLocale: "root", locales: { root: { label: "日本語", lang: "ja", }, en: { label: "English", lang: "en", }, },After the above settings, copy the existing files to /content/docs/en. Adjust the paths for images and links in /en/index.mdx.
After deploying the files, a dropdown menu will appear, allowing you to switch languages.
Creating Sitemap / robots.txt
To make the created site’s sitemap available, enable the Sitemap feature. This setting is introduced on the following page.
The setting is added to the site in the astro.config.mjs file.
export default defineConfig({ site: "https://doc.haramizu.com", integrations: [ starlight({After this setting, run the site’s Build once.
npm run buildAfter running the build, the following two files are created.
- dist/sitemap-index.xml
- dist/sitemap-0.xml
The sitemap-index.xml file needs to be set in robots.txt. Create a public/robots.txt file and write the following.
User-agent: *Allow: /
Sitemap: https://doc.haramizu.com/sitemap-index.xml
This completes the sitemap and robots.txt settings.
Implementing Google Tag Manager
Here, we will guide you on how to implement Google Tag Manager. This is a setting used throughout the site, so it is written using the head in astro.config.mjs.
-
Create a
.env.localfile to manage the Google Tag Manager value as an environment variable and add the following definition..env.local GTM_ID=Your GTM ID -
Update the configuration file. Load the environment variable and assign it to the tag.
astro.config.mjs const GTM_ID = process.env.GTM_ID;export default defineConfig({integrations: [starlight({head: [{tag: 'script',attrs: {async: true,src: `https://www.googletagmanager.com/gtm.js?id=${GTM_ID}`,},},{tag: 'script',content: `(function(w,d,s,l,i){w[l]=w[l]||[];w[l].push({'gtm.start':new Date().getTime(),event:'gtm.js'});var f=d.getElementsByTagName(s)[0],j=d.createElement(s),dl=l!='dataLayer'?'&l='+l:'';j.async=true;j.src='https://www.googletagmanager.com/gtm.js?id='+i+dl;f.parentNode.insertBefore(j,f);})(window,document,'script','dataLayer','${GTM_ID}');`,},],}),],});
This enables Google Tag Manager.
Installing various tools
To continue maintenance, it is important to install several essential tools.
Prettier
Prettier is a tool that automatically formats code. This helps maintain code consistency and improves readability. Install Prettier with the following command.
npm install --save-dev prettier prettier-plugin-astroAdd Tailwind CSS settings as well.
npm install --save-dev prettier-plugin-tailwindcssAfter installing the above packages, create a .prettierrc.json file in the project’s root directory and add the settings.
{ "endOfLine": "crlf", "semi": true, "singleQuote": true, "tabWidth": 2, "trailingComma": "es5", "printWidth": 100, "plugins": ["prettier-plugin-astro", "prettier-plugin-tailwindcss"], "overrides": [ { "files": "*.astro", "options": { "parser": "astro" } } ]}This prepares Prettier to unify the code format.
Summary
This time, we introduced the steps to set up a site using Astro / Starlight. Basically, we just followed the guidance on the official site.