Puppeteer を展開する
This content is not available in your language yet.
Puppeteer は、Node.js で開発されたライブラリで、Chrome または Chromium を制御するための API を提供します。Headless Chrome を操作するのに特化しており、テストの自動化などでよく利用されます。公式サイトは以下のサイトになります。
ここでは、Puppeteer を利用している Next.js のサンプルを Vercel に展開する手順を紹介します。
プロジェクトを作成する
まずは Next.js で利用できる Puppeteer のサンプルを作成していきます。このドキュメントでの前提条件は以下の通りです。
- Next.js 14.2.18
- Pages Router
- Node.js v20
- macOS
- Google Chrome
ローカルで動作させる際には、Google Chrome がインストールされていることを前提として、Google Chrome を Headless モードで動作させてスクリーンショットを撮る形となります。
-
新しい Next.js のプロジェクトを作成します。
Terminal window npx create-next-app@14.2.18今回は、以下のように選択しました。

-
puppeteer のパッケージを追加します。
Terminal window npm install puppeteer-core -
今回は URL を指定して画像を取得するような API として puppeteer を利用します。このため API のファイルとして
src/pages/api/screenshot.tsのファイルを作成し、以下のコードを追加します。/src/pages/api/screenshot.ts // Next.js API route support: https://nextjs.org/docs/api-routes/introductionimport type { NextApiRequest, NextApiResponse } from 'next';import puppeteer from 'puppeteer-core';export default async function handler(req: NextApiRequest, res: NextApiResponse) {const url = req.query.url as string;const width = parseInt(req.query.width as string) || 1280;const height = parseInt(req.query.height as string) || 768;if (!url) {res.status(400).json({ error: 'URL is required' });return;}try {const browser = await puppeteer.launch({channel: 'chrome',headless: true,});const page = await browser.newPage();await page.setViewport({ width, height });await page.goto(url, { waitUntil: 'networkidle0' });const screenshot = await page.screenshot({ encoding: 'base64' });await page.close();await browser.close();res.status(200).json({ screenshot });} catch (error) {console.error(error);res.status(500).json({ error: 'Failed to take screenshot' });}} -
Next.js のトップページのコードを以下のように変更をします。
/src/pages/index.tsx import Image from 'next/image';import { useState } from 'react';export default function Home() {const [screenshot, setScreenshot] = useState<string | null>(null);const handleTakeScreenshot = async () => {const urlInput = (document.getElementById('urlInput') as HTMLInputElement).value;const response = await fetch(`/api/screenshot?url=${encodeURIComponent(urlInput)}&width=1280&height=768`);const data = await response.json();setScreenshot(data.screenshot);};return (<div><div className="m-2 border-b border-gray-300 pb-2"><inputtype="text"id="urlInput"placeholder="Enter URL"defaultValue="https://doc.haramizu.com/"className="mb-2 w-full rounded border border-gray-300 px-4 py-2"/><buttononClick={handleTakeScreenshot}className="rounded bg-blue-500 px-4 py-2 font-bold text-white hover:bg-blue-700">Take Screenshot</button></div><div>{screenshot && (<Imagesrc={`data:image/png;base64,${screenshot}`}alt="Screenshot"width={1280}height={768}/>)}</div></div>);} -
スタイルシート
/src/styles/globals.cssに記載されているサンプルのスタイルを全て削除します。@tailwind base;@tailwind components;@tailwind utilities;
上記の状態で、実行をします。
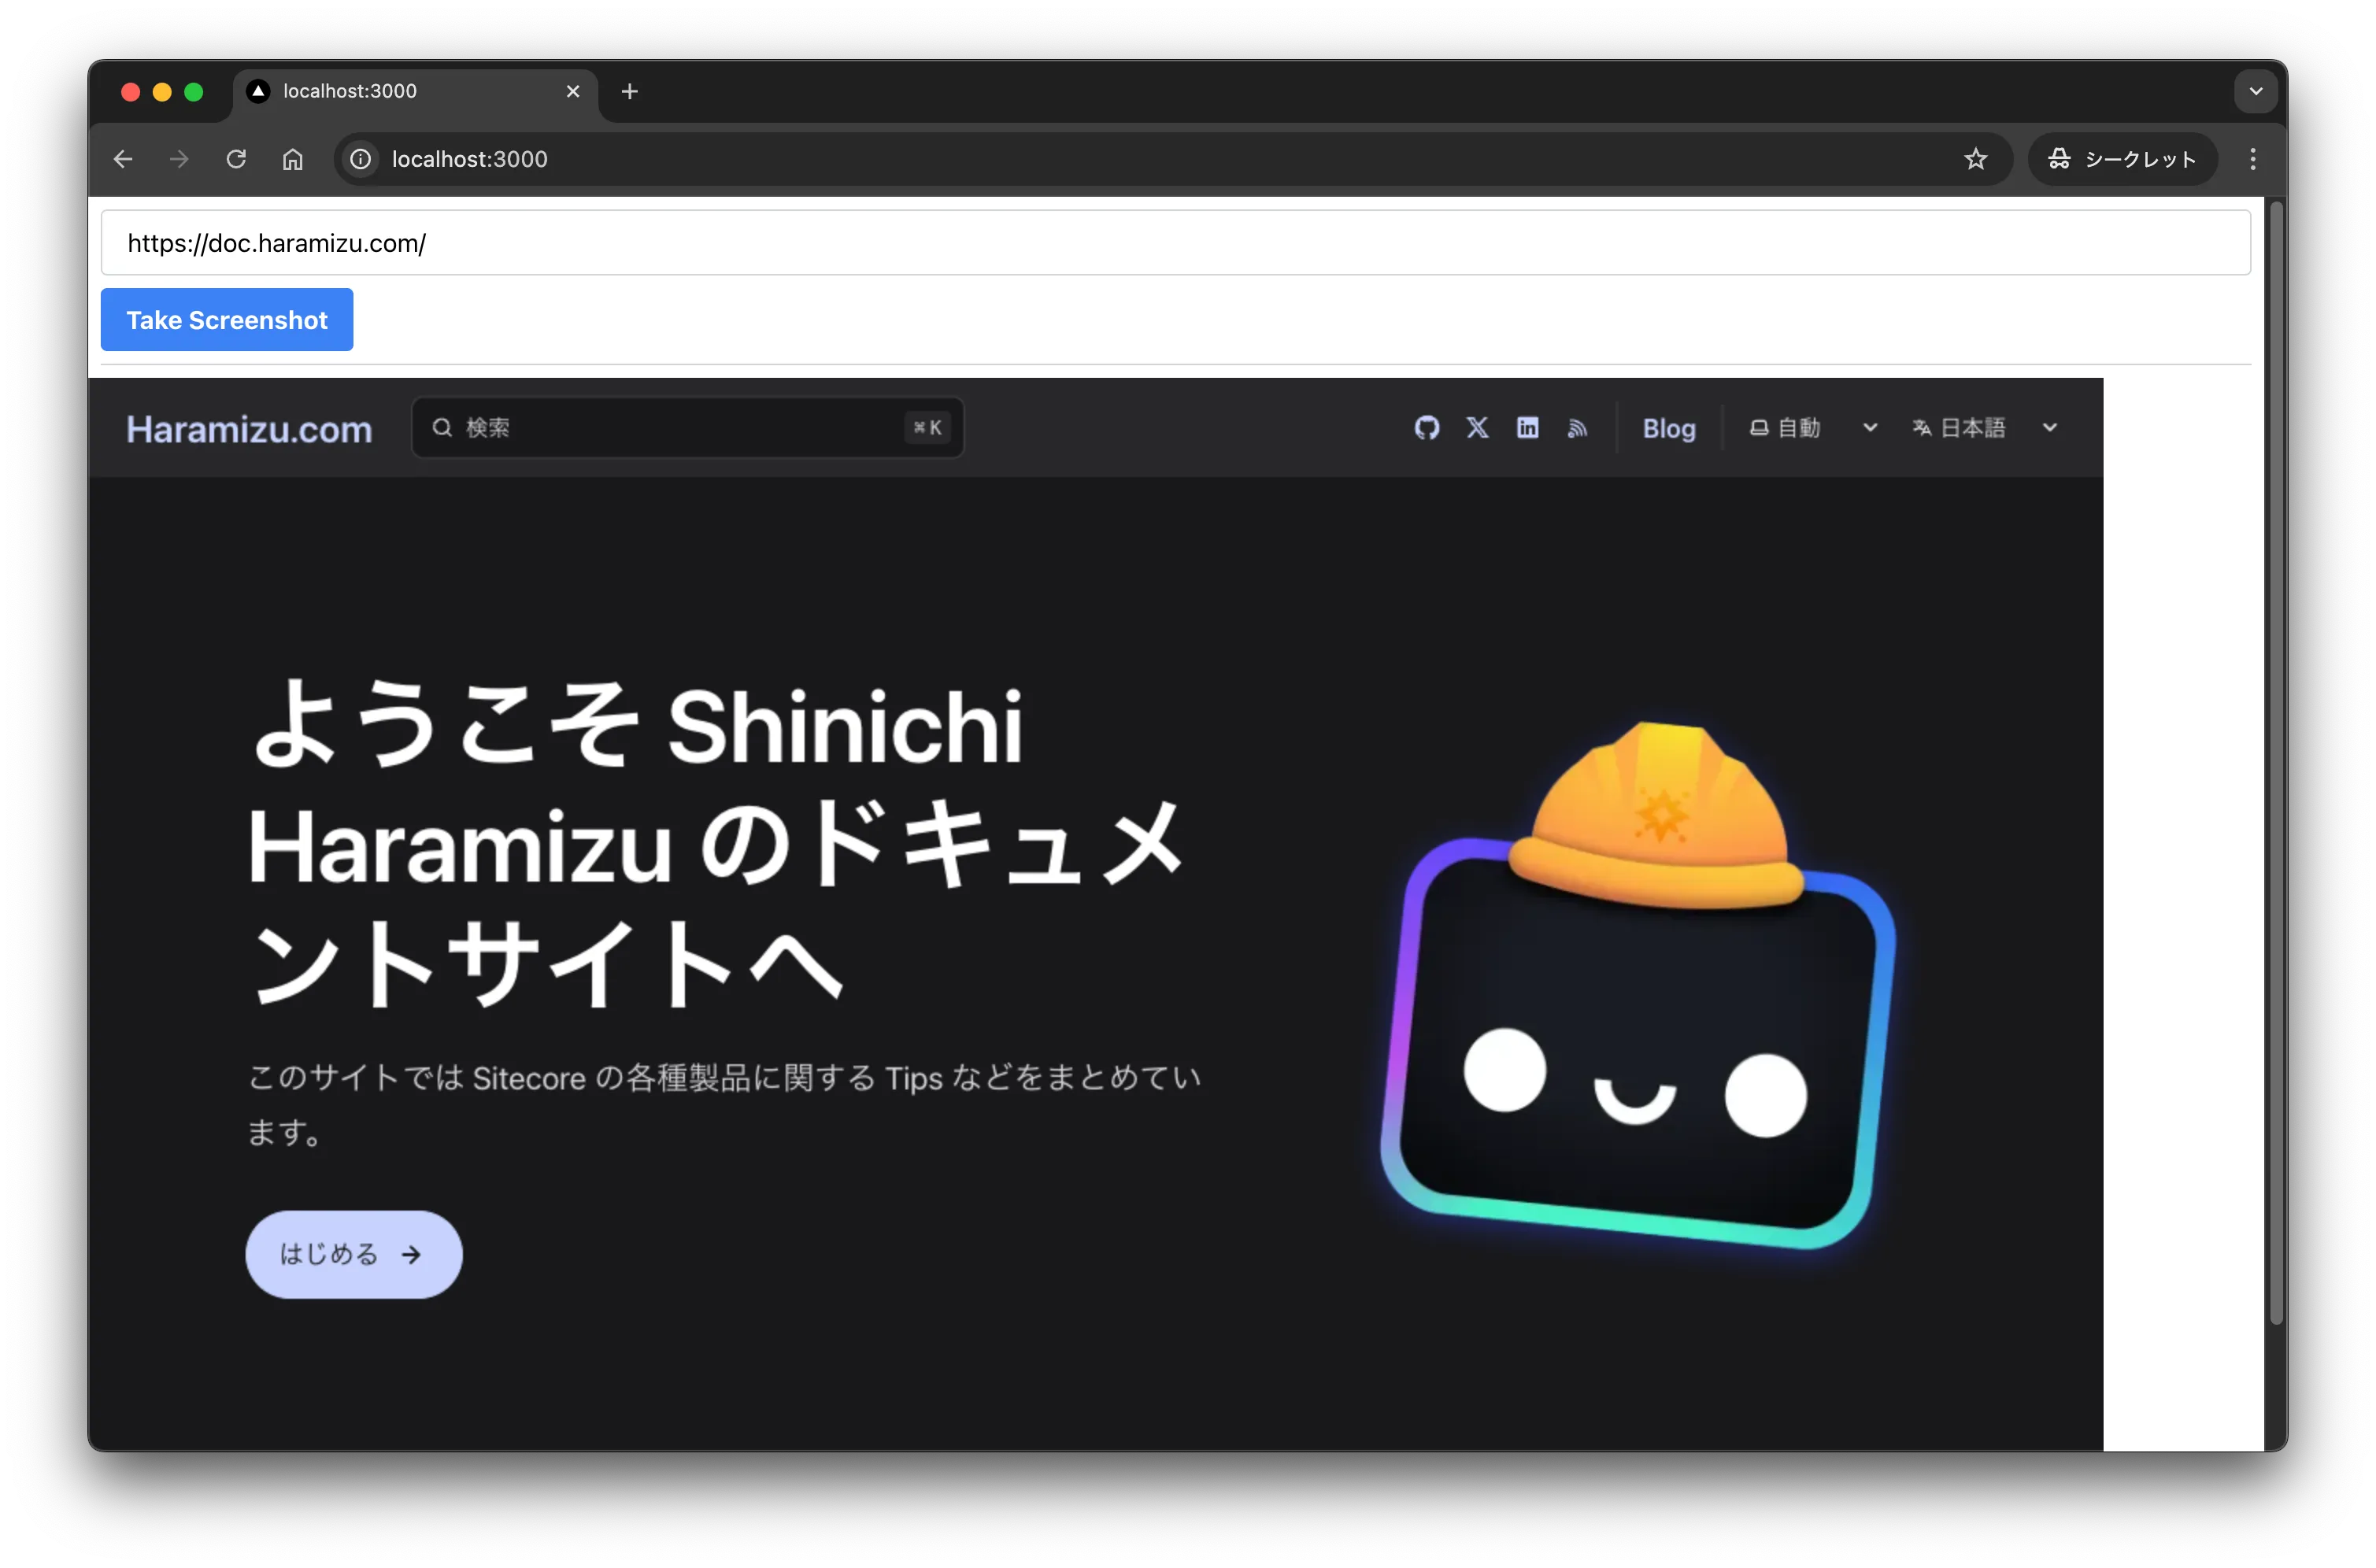
npm run devURL を入力して、ボタンを押してスクリーンショットを取得します。以下のように、画像として表示されました。

Vercel に展開する
上記ではローカルにインストールされている Google Chrome を利用していましたが、Vercel の環境には Chrome はインストールされていないため、そのままでは動作しません。
そこで今回は、@sparticuz/chromium というパッケージを利用します。これは、Serverless 環境で利用できる Chromium のパッケージとなります。
手順は以下の通りです。
-
@sparticuz/chromiumをインストールするTerminal window npm install @sparticuz/chromium -
/src/pages/api/screenshot.tsの API において、Vercel の環境では上記の chromium を利用するように、以下のように変更をします。/src/pages/api/screenshot.ts import type { NextApiRequest, NextApiResponse } from "next";import puppeteer from "puppeteer-core";import chromium from "@sparticuz/chromium";export default async function handler(req: NextApiRequest,res: NextApiResponse,) {const url = req.query.url as string;const width = parseInt(req.query.width as string) || 1280;const height = parseInt(req.query.height as string) || 768;if (!url) {res.status(400).json({ error: "URL is required" });return;}try {let browser;if (process.env.VERCEL_ENV) {browser = await puppeteer.launch({args: chromium.args,executablePath: await chromium.executablePath(),headless: true,});} else {browser = await puppeteer.launch({channel: 'chrome',headless: true,});}const page = await browser.newPage();
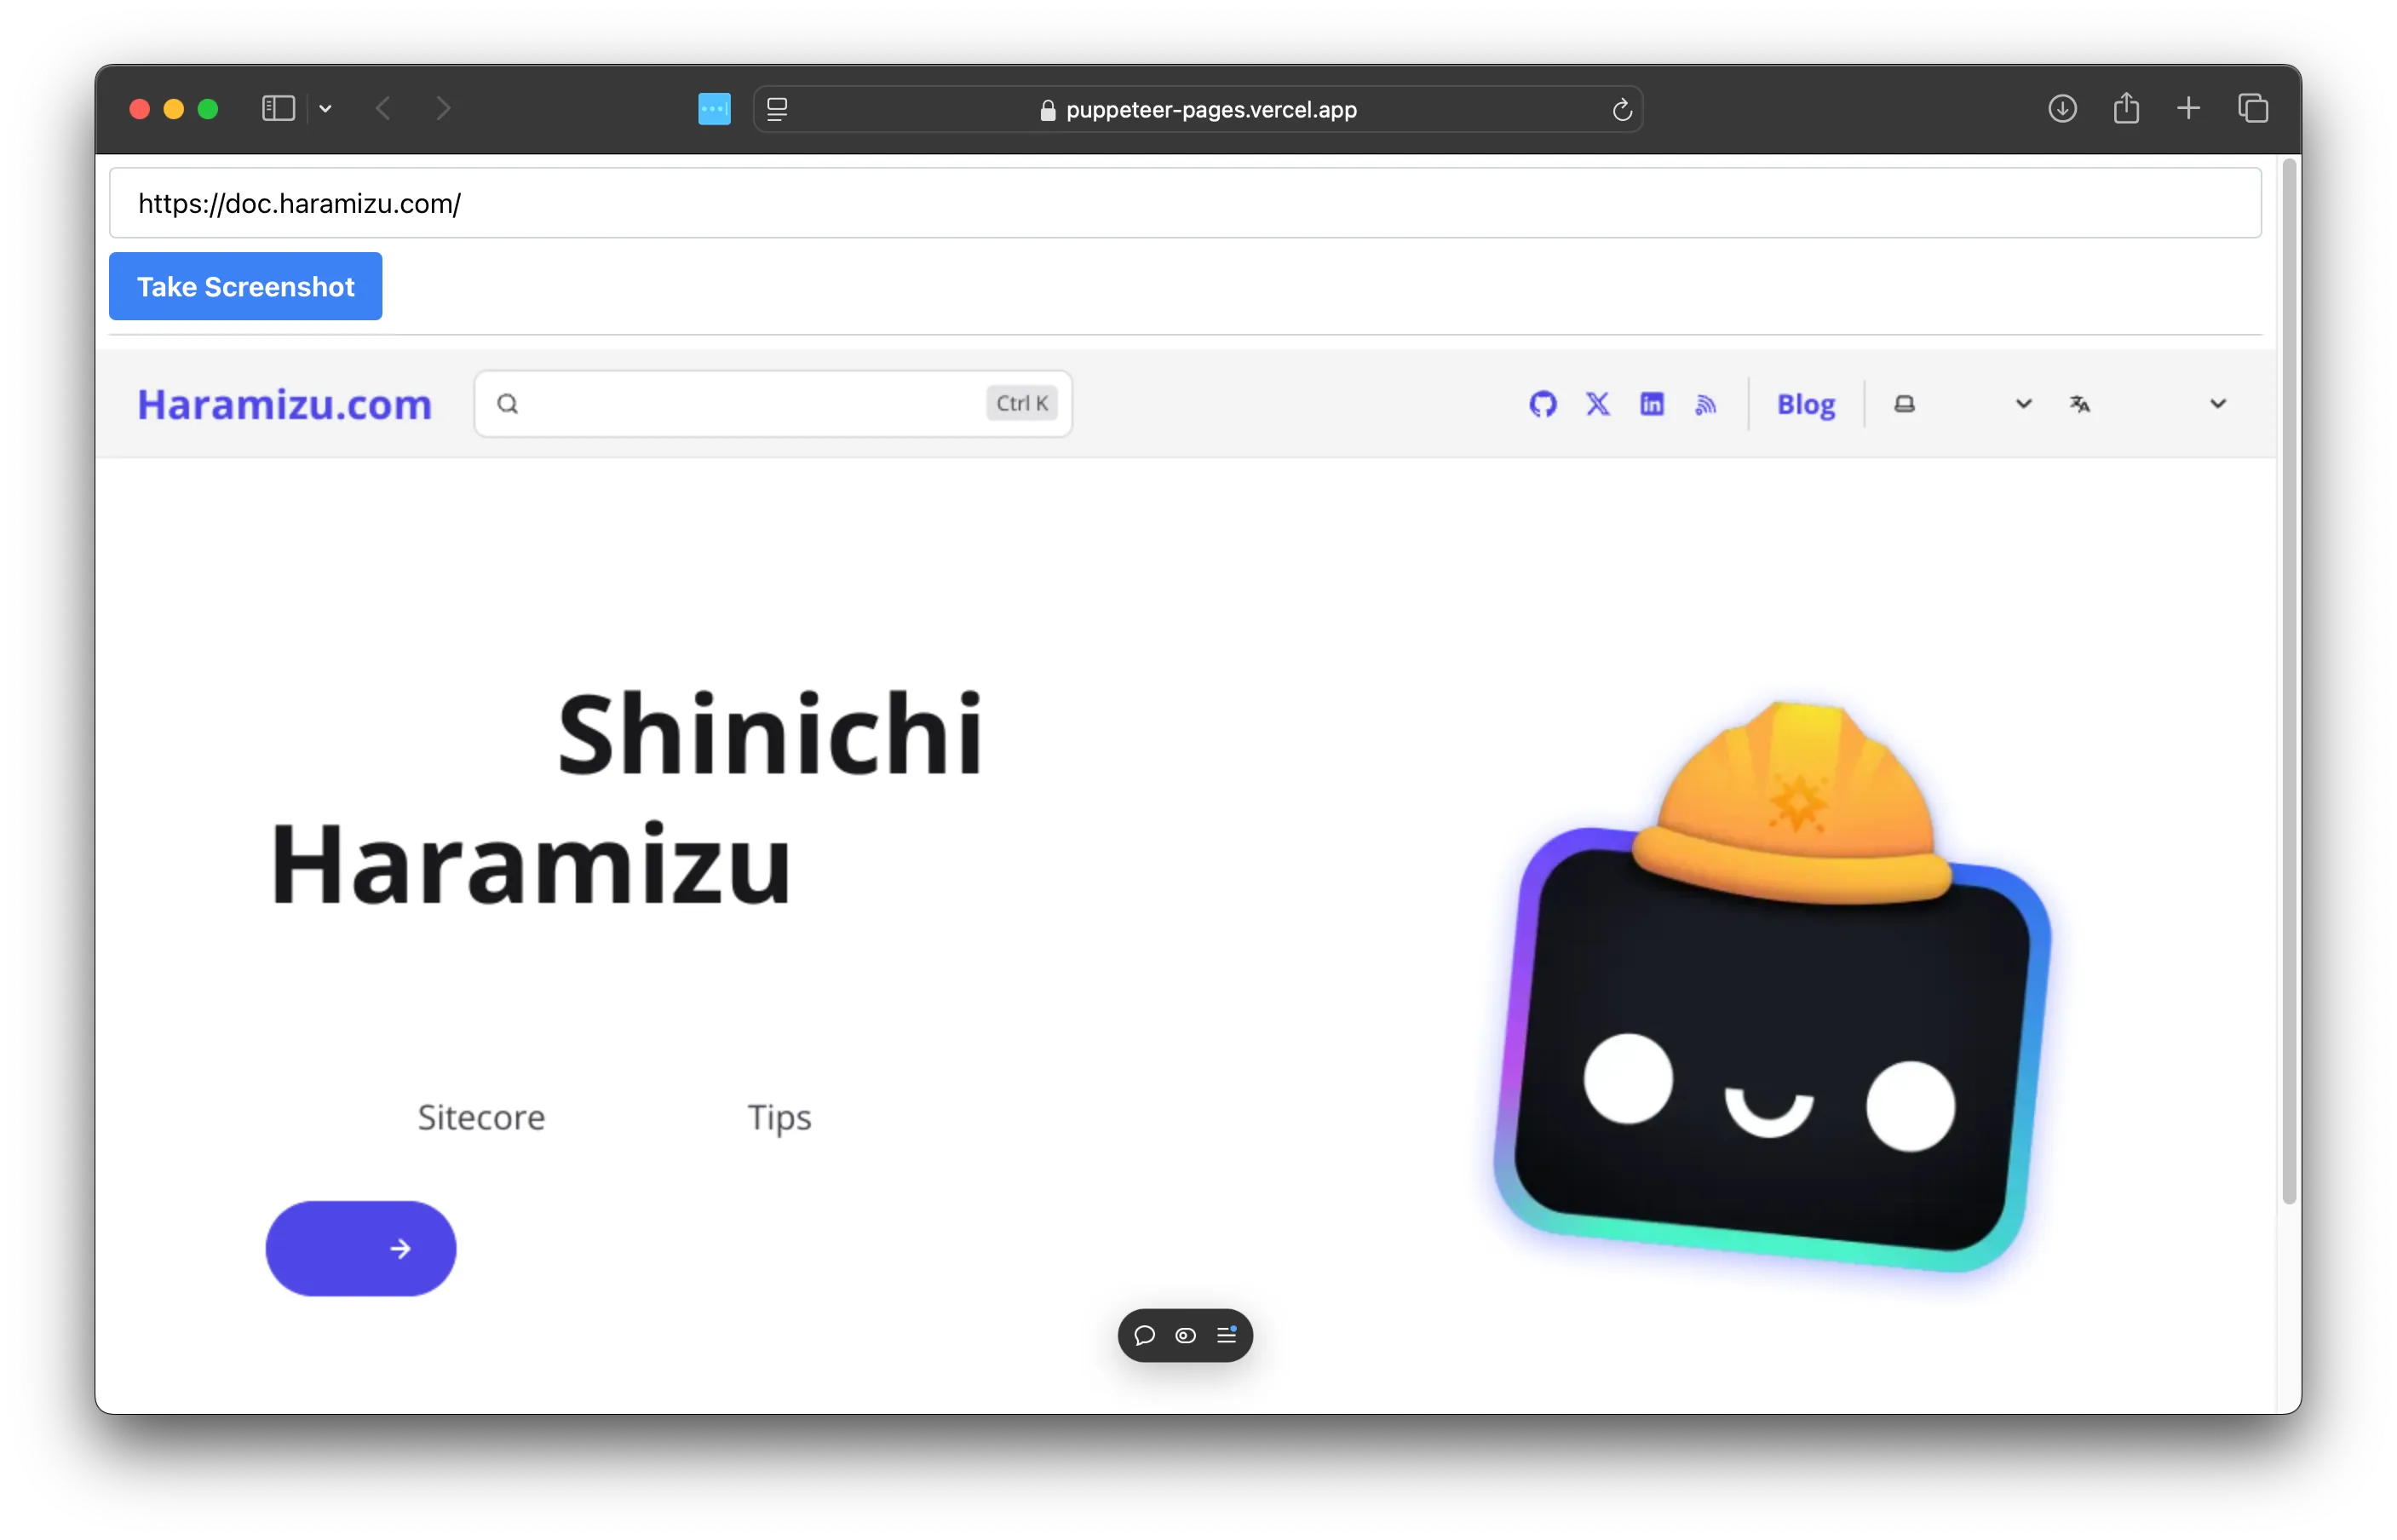
上記の変更後、Vercel に展開して、動作確認をします。URL を入力して実行すると以下のようになります。

実は @sparticuz/chromium はデフォルトで日本語のフォントが入っていないため、日本語のページを参照するとページにコンテンツが正しく表示されることがありません。
今回は日本語も表示する形にしたいため、 /src/pages/api/screenshot.ts に日本語を表示するための処理を追加します。具体的には、スタイルに関しての定義を追加して、それが適用されるためにスクリーンショットを取得する手前で 1 秒待ちます。
const page = await browser.newPage();
await page.setViewport({ width, height });await page.goto(url, { waitUntil: 'networkidle0' });
await page.addStyleTag({  content: `        @import url('https://fonts.googleapis.com/css2?family=Noto+Sans+JP&display=swap');        * {          font-family: 'Noto Sans JP', sans-serif !important;        }      `,});
await new Promise((resolve) => setTimeout(resolve, 1000));
const screenshot = await page.screenshot({ encoding: 'base64' });
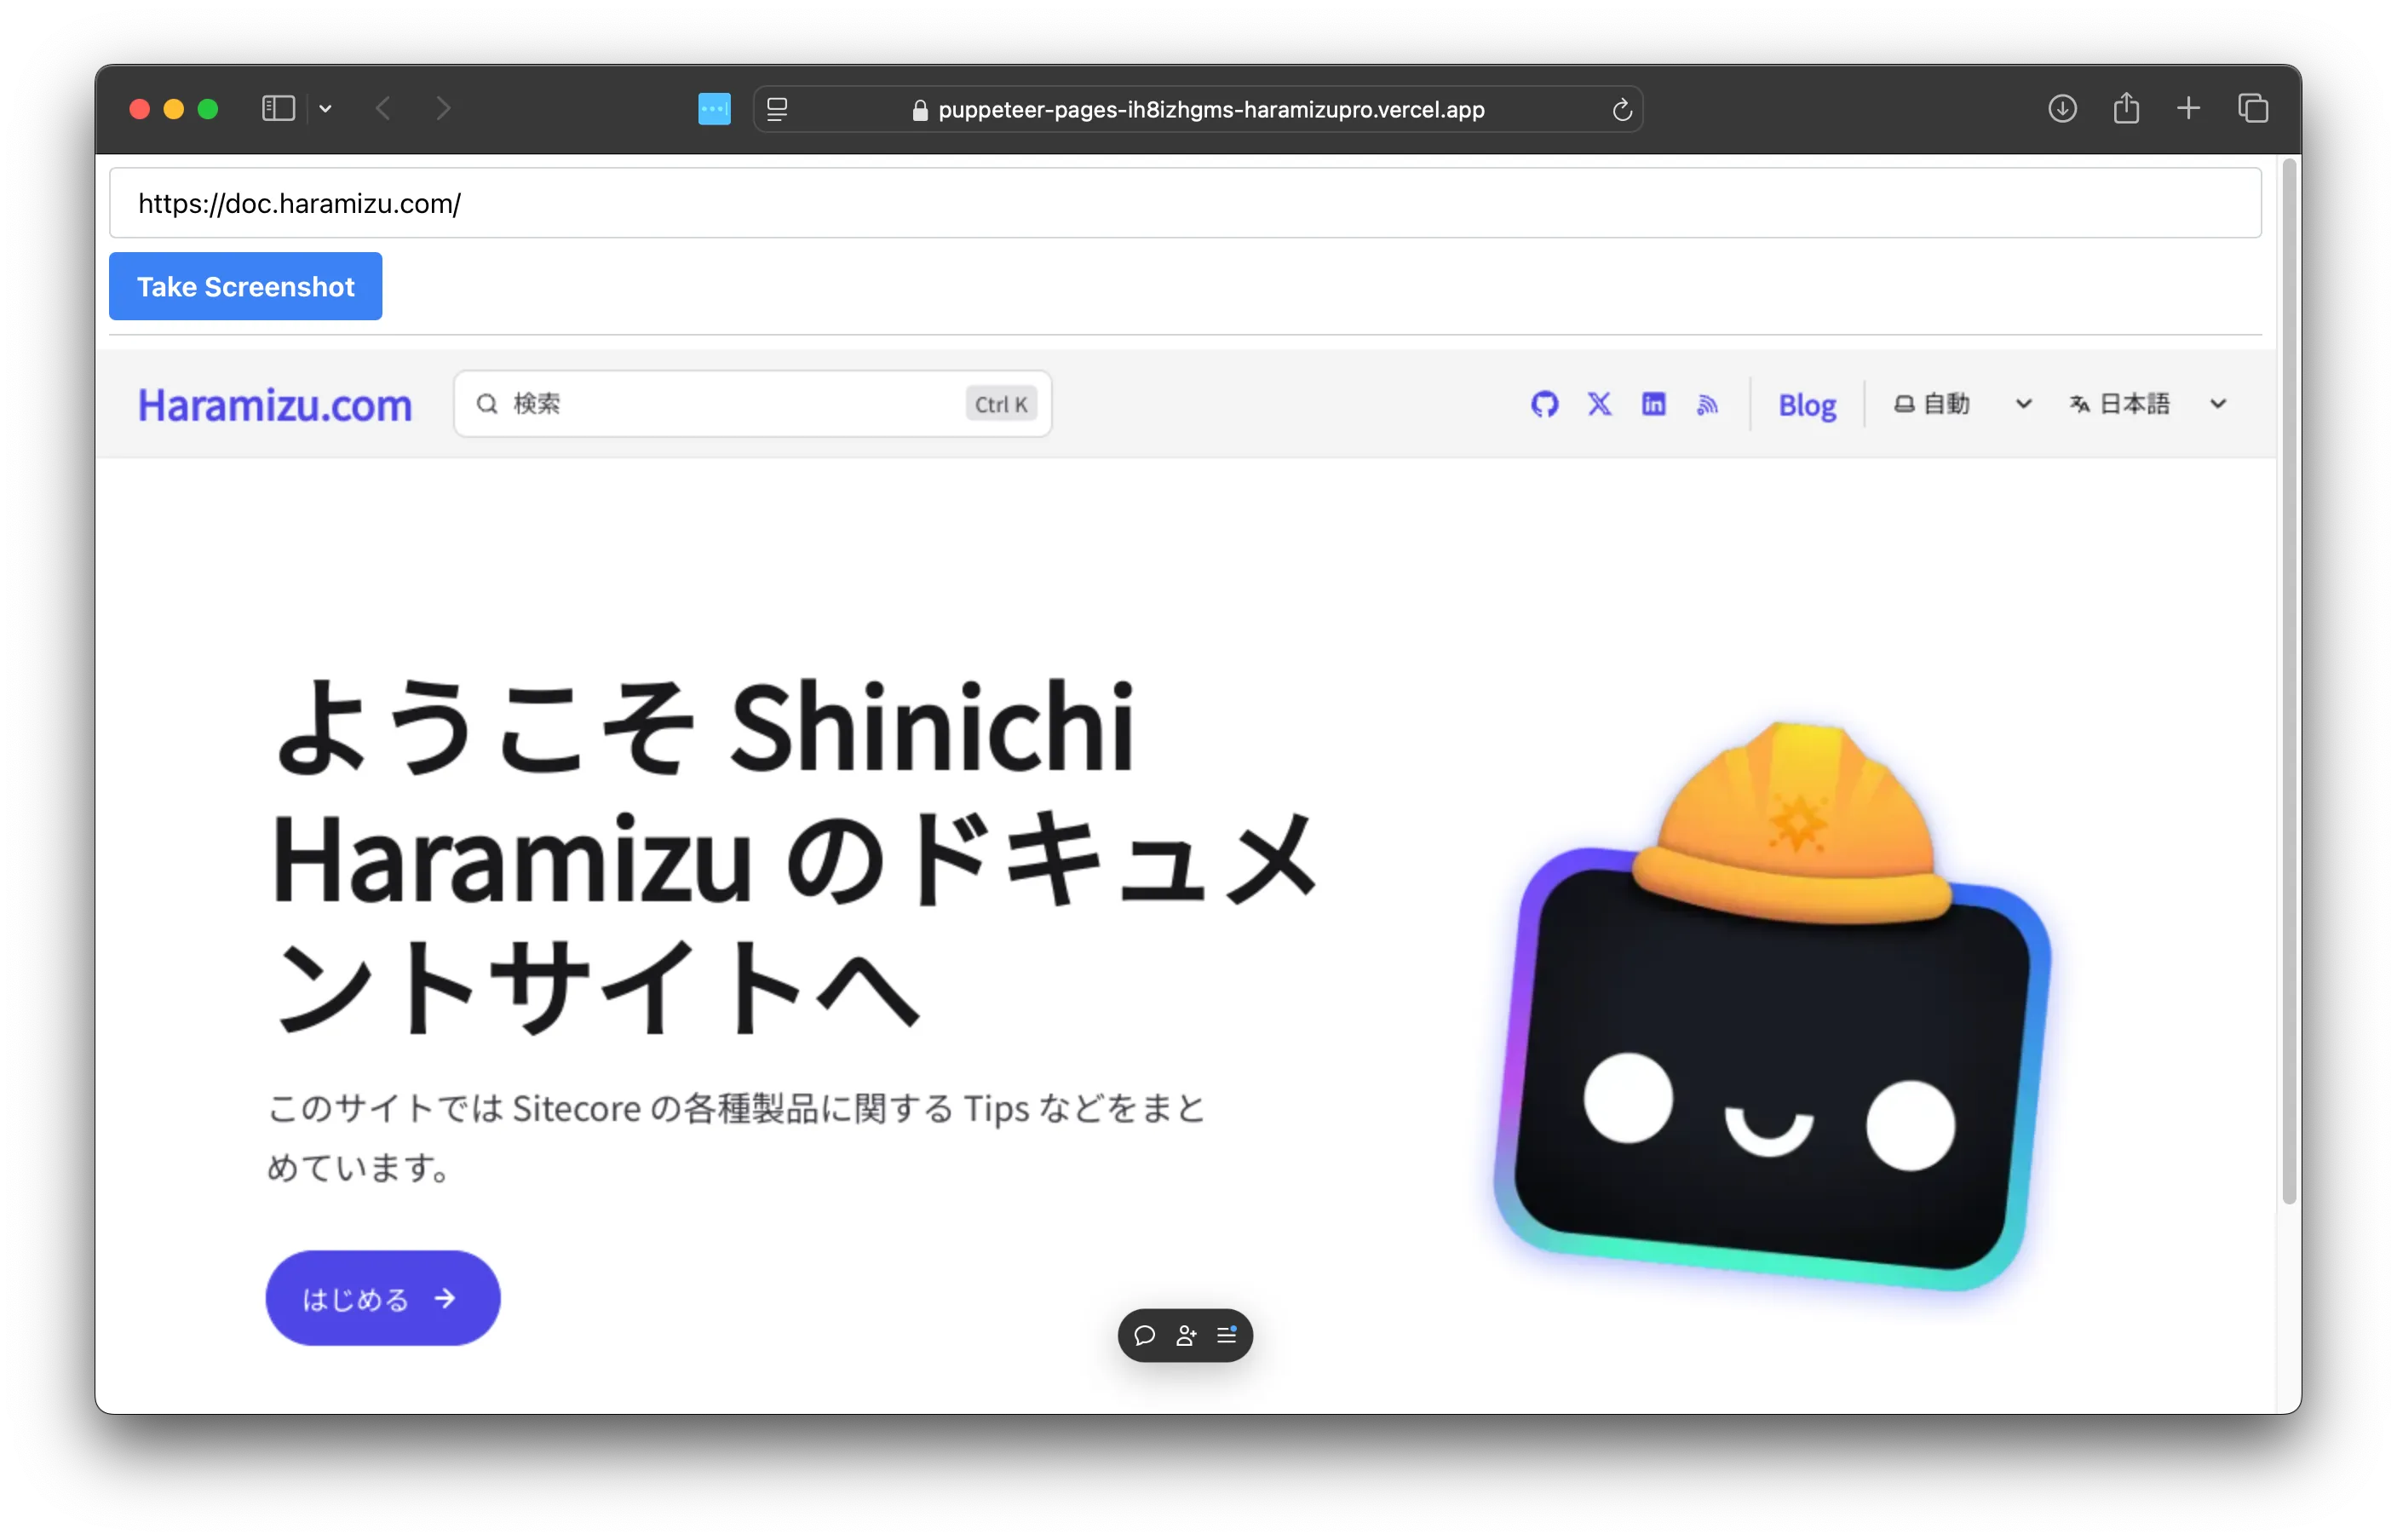
上記のコードの変更後、Vercel に改めて展開をしてテストを実行します。無事、スクリーンショットを取得できました。

まとめ
今回は Puppeteer を利用した簡単な Next.js のアプリを Vercel に展開しました。日本語が表示できない部分に関しても、パッケージの機能を利用することでスクリーンショットに日本語のフォントを適用することができました。おそらく他の言語でも同様に動作すると思います。
このサンプルコードは以下の URL で公開しています。併せて App Router でのコードも共有しています。